Audio Repair
Tinker Tom
Craftsmen
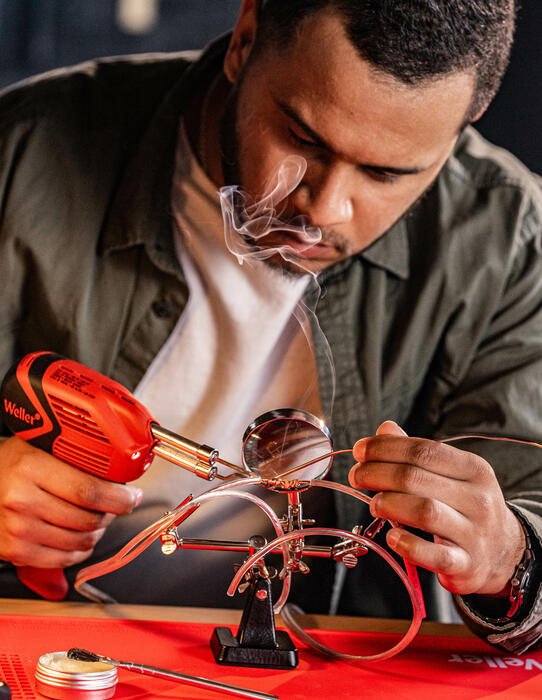
I use soldering often in my projects. I like to fix and create things, so I need a product that will let me do everything.
Look at my process
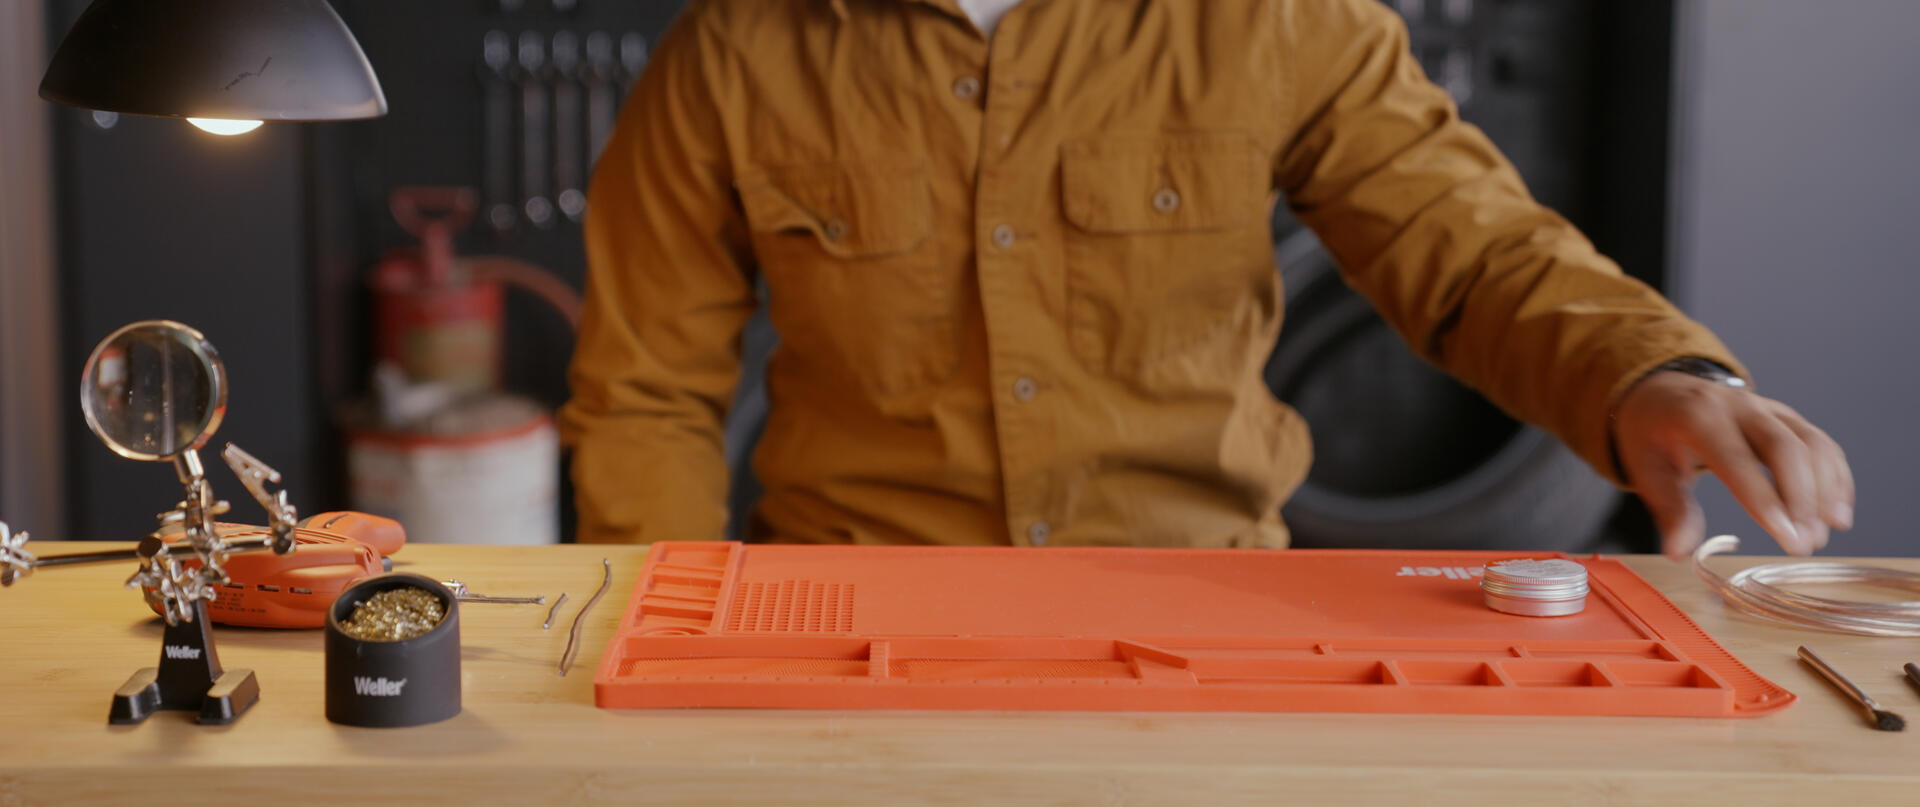
Step 1
Before you begin soldering clean your work space and have all your tools ready.

Step 1
Before you begin soldering clean your work space and have all your tools ready.
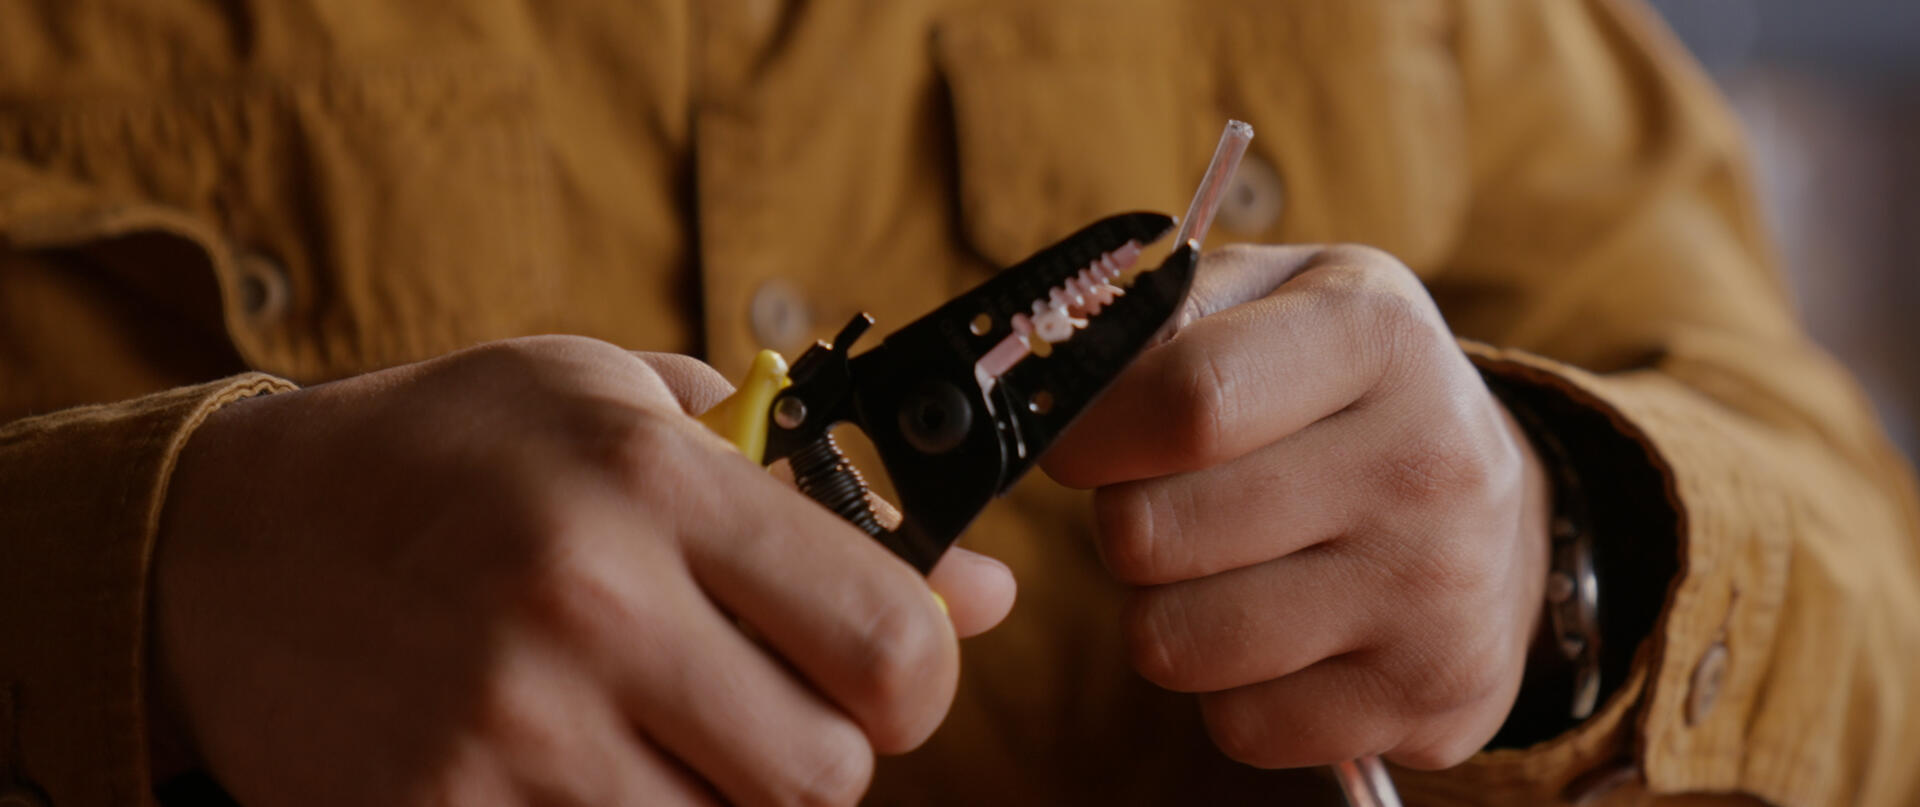
Step 2
Prepare the wire. Strip wire of outer casting.

Step 3
Add shrink wrap on one side of the wire
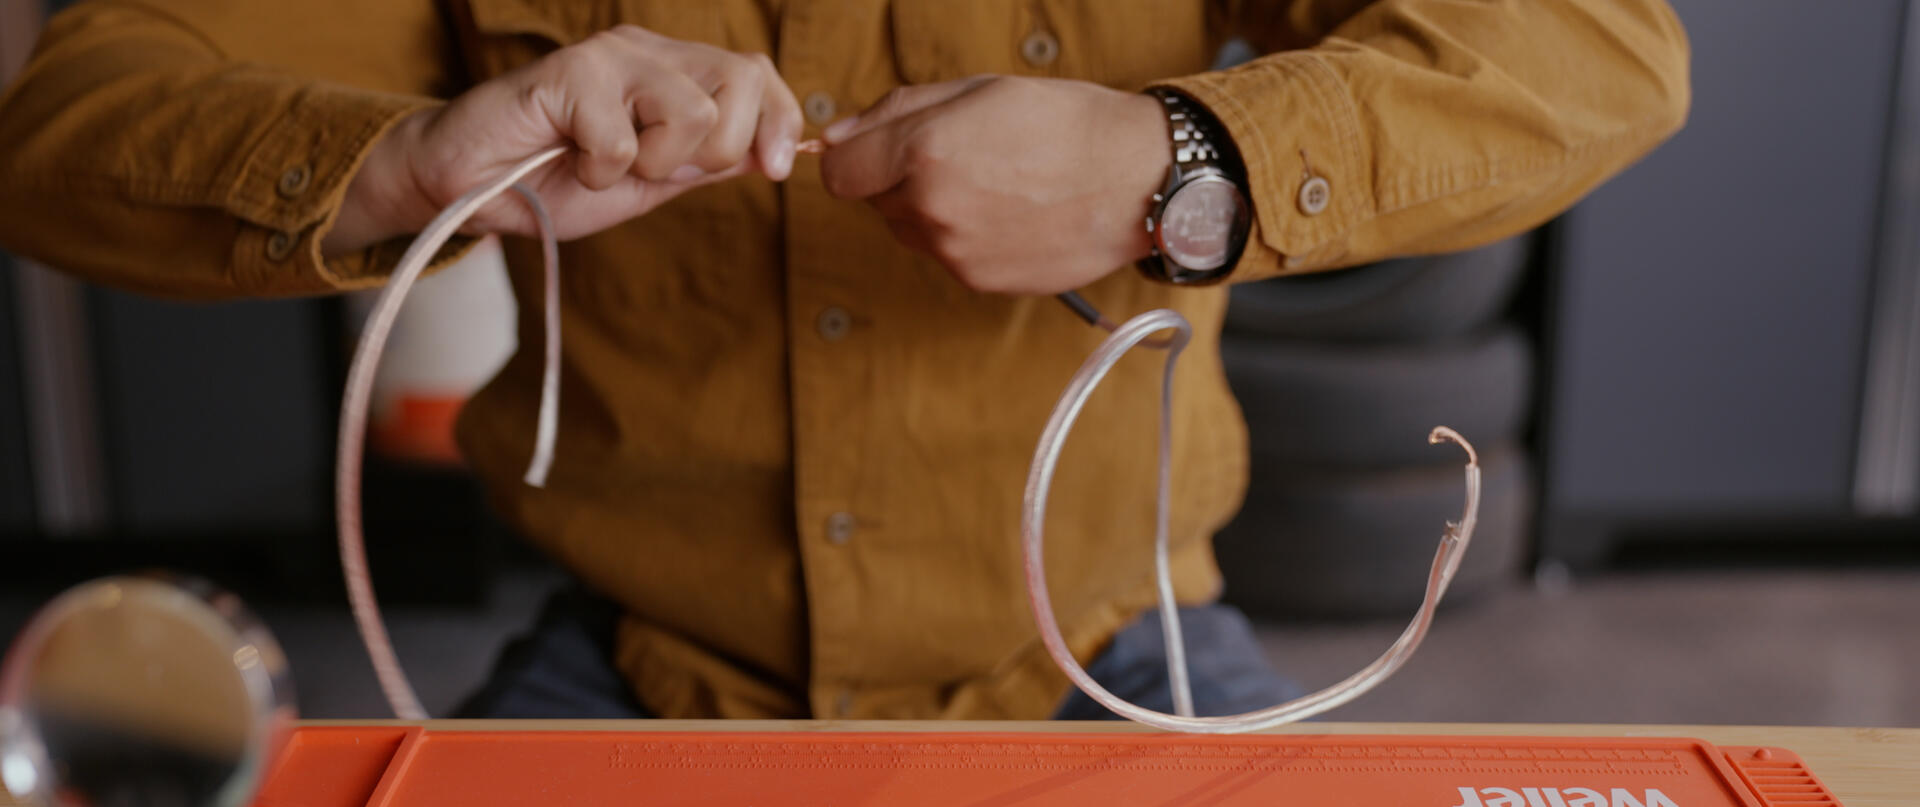
Step 4
Hook wires together
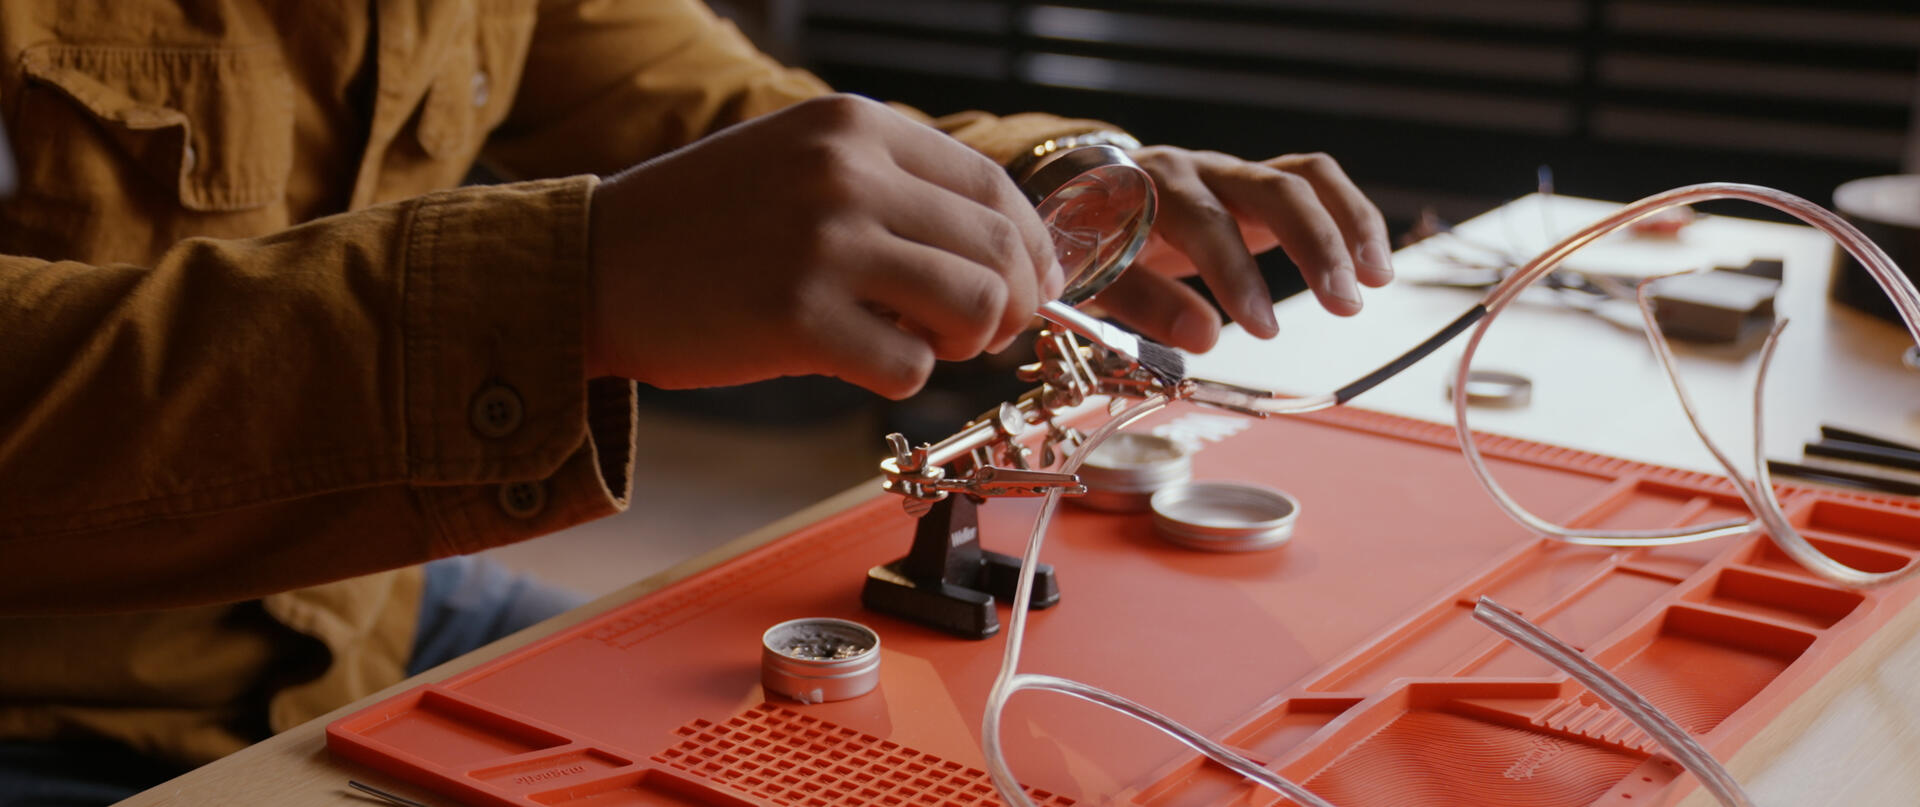
Step 5
Join wires. Hook wires together
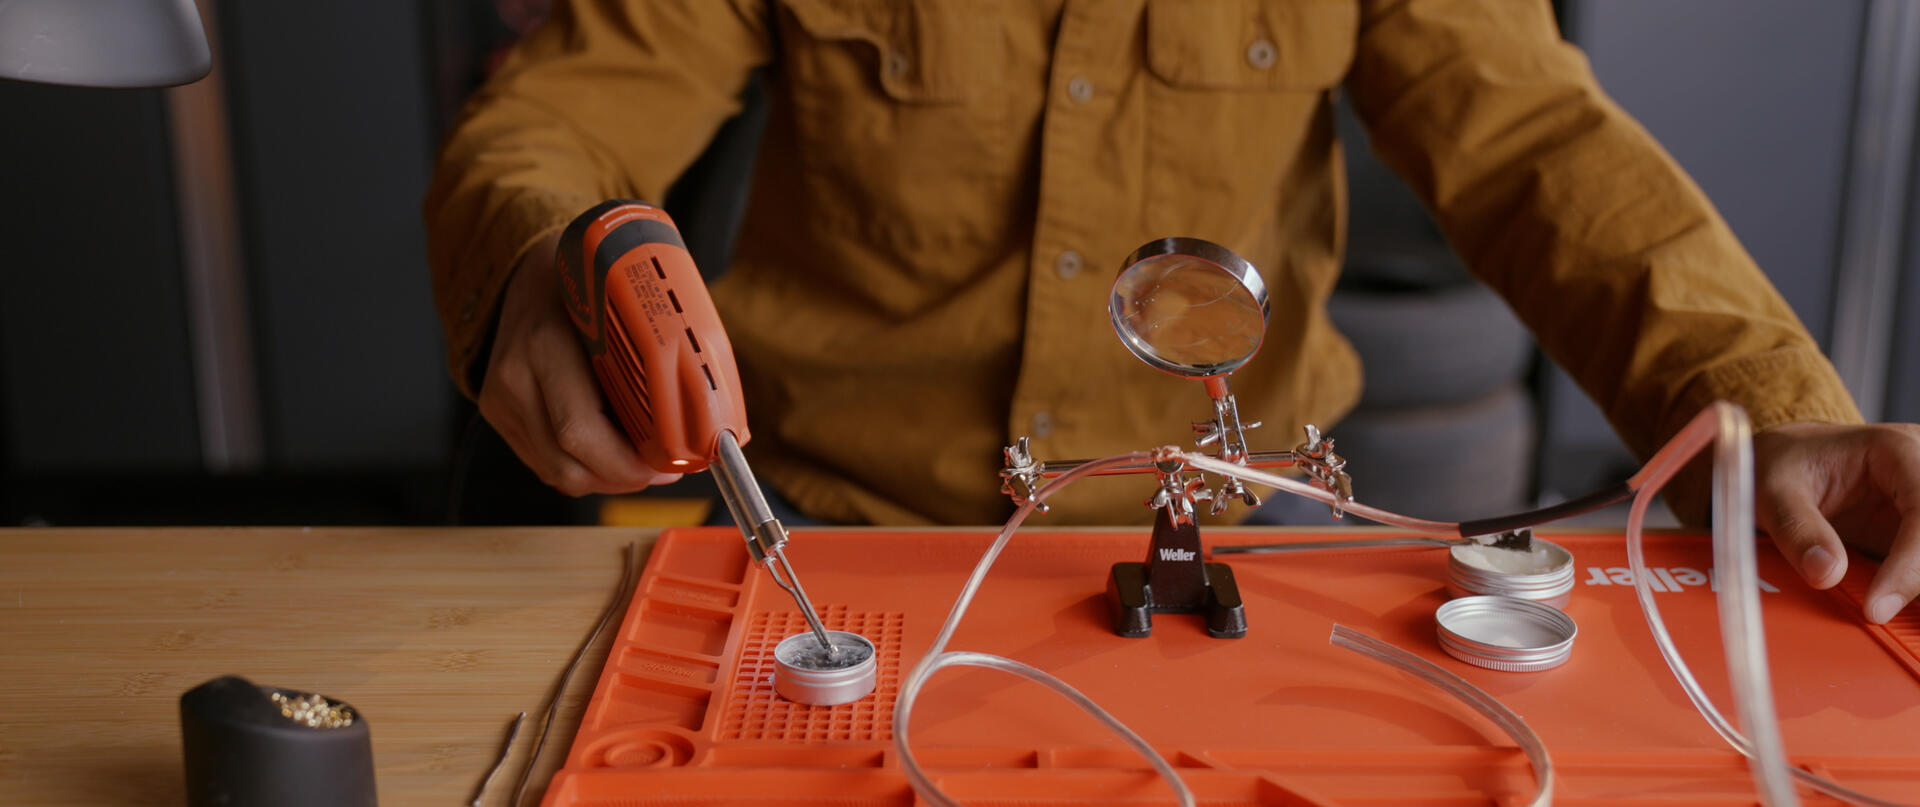
Step 6
Prepare Soldering Gun. Holder trigger halfway for 6 second to heat up the tip. Tin the tip.
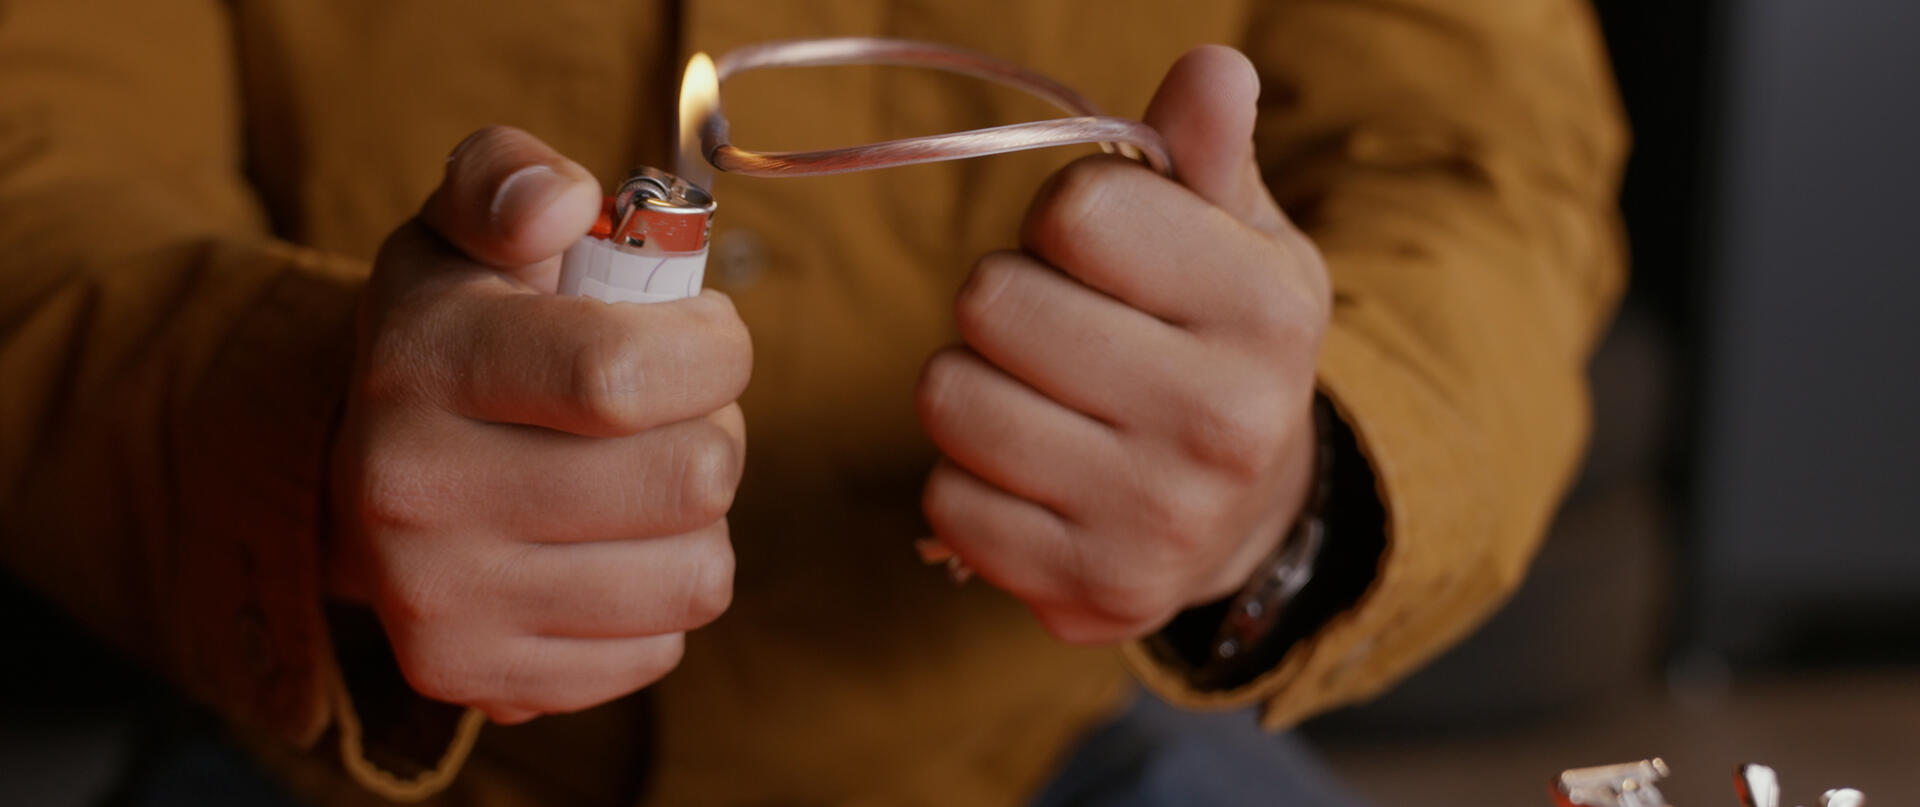
Step 7
Protect your work.
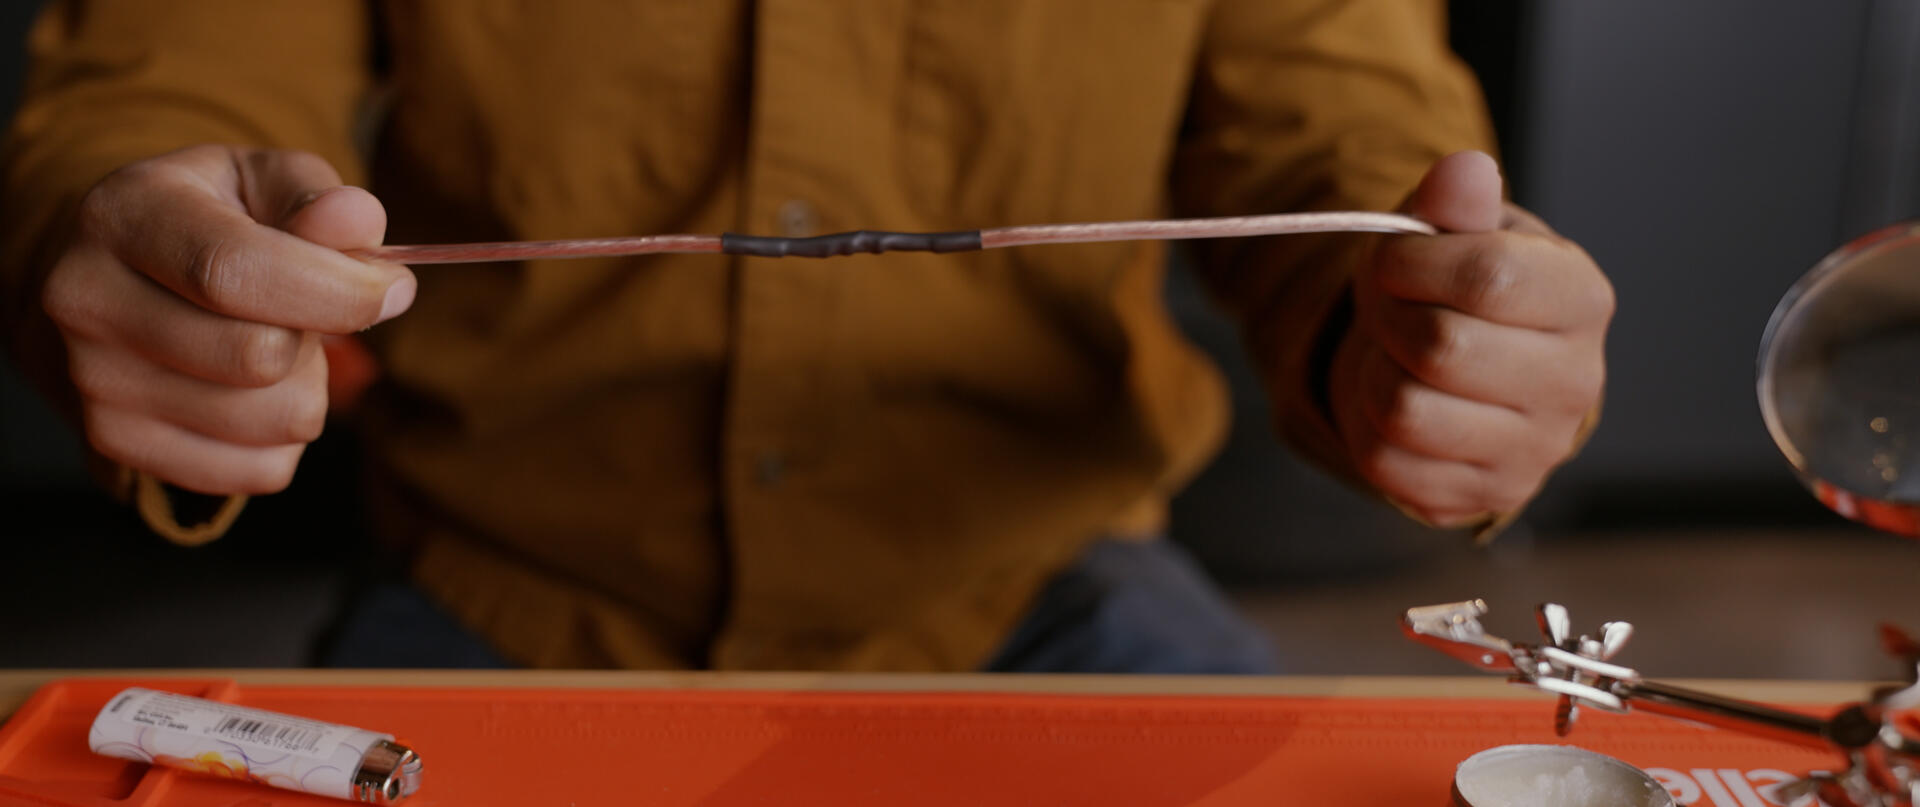
Step 8
Use torch to heat up heat shrink.

Soldering on drone
Guru Gary
Software Engineer and Hobbyist
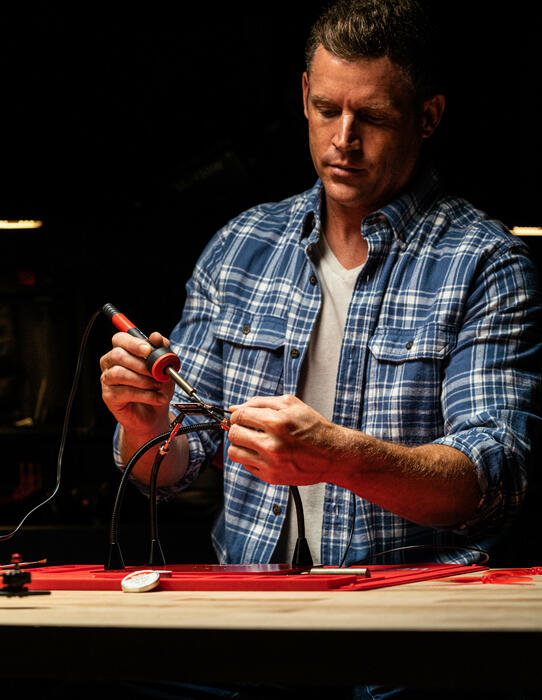
Soldering is something I’m truly passionate about and Weller always has my back.
Look at my process
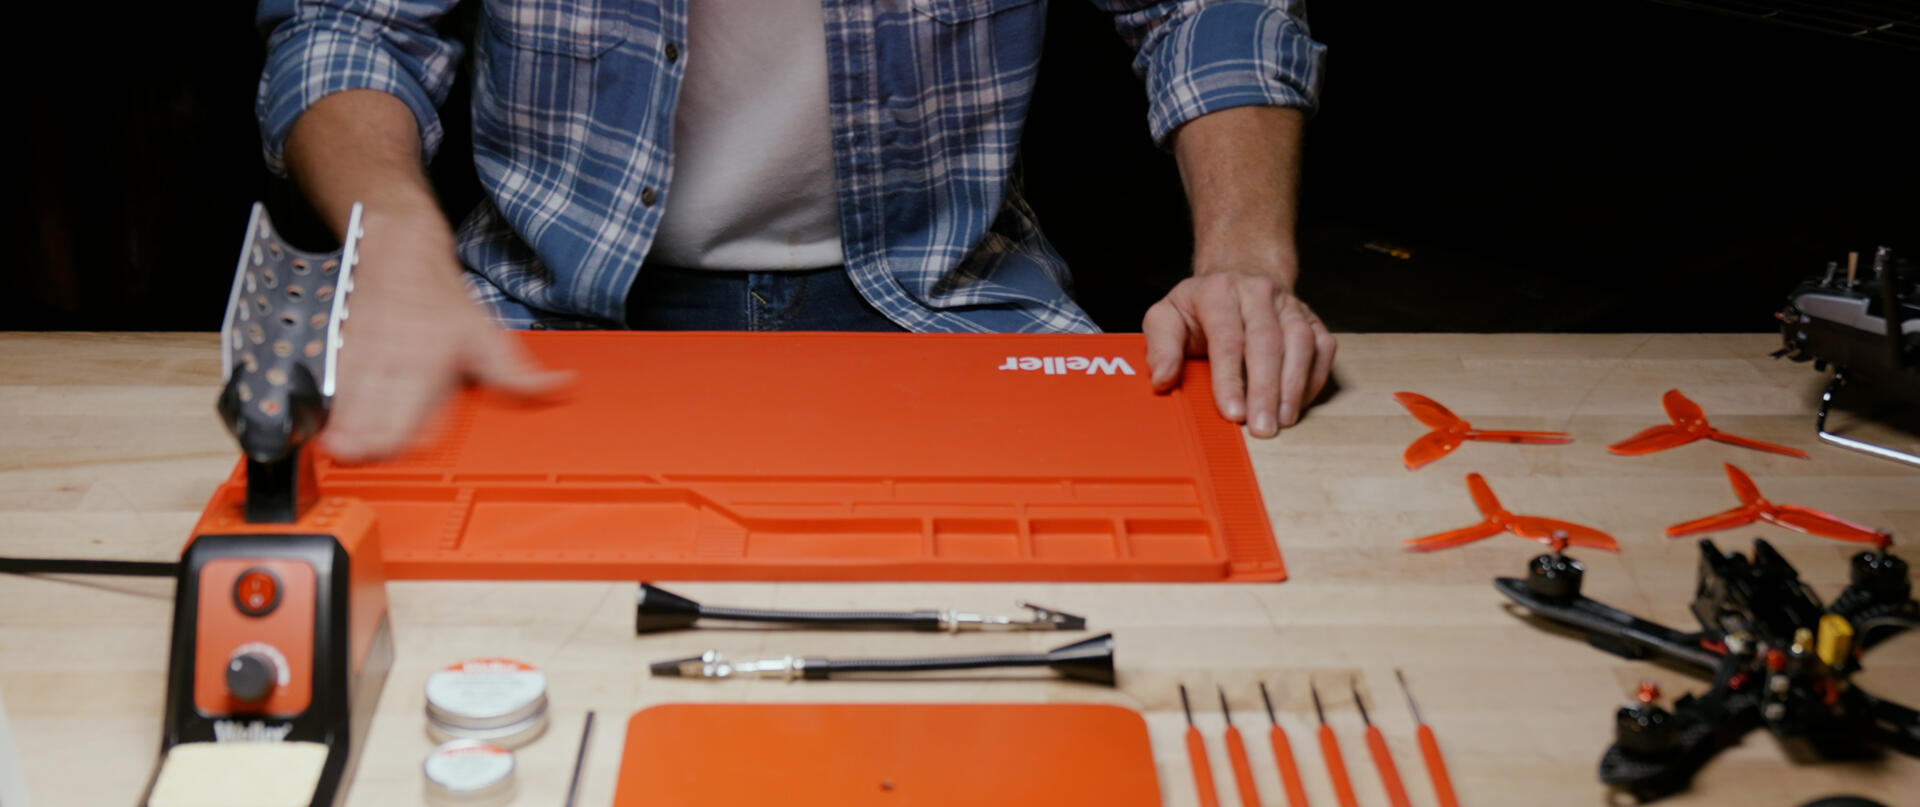
Step 1
Before you begin soldering clean your work space and have your tools ready

Step 1
Before you begin soldering clean your work space and have your tools ready
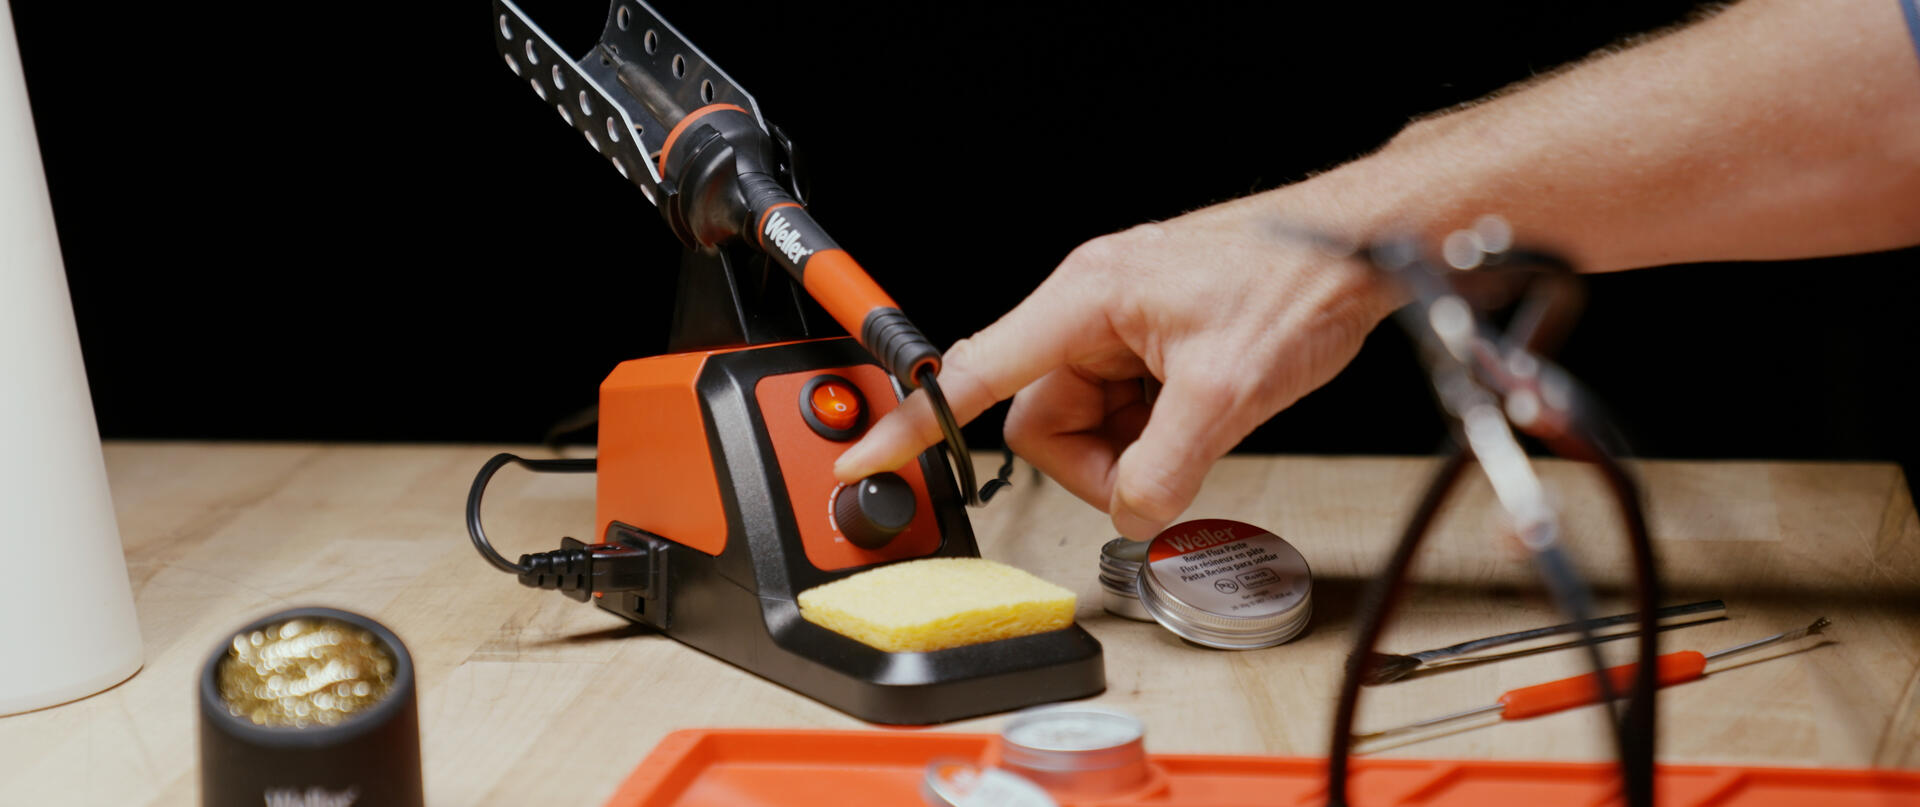
Step 2
Prepare Soldering Station. Turn on the soldering station and adjust the station's wattage to max. Add water to the sponge.
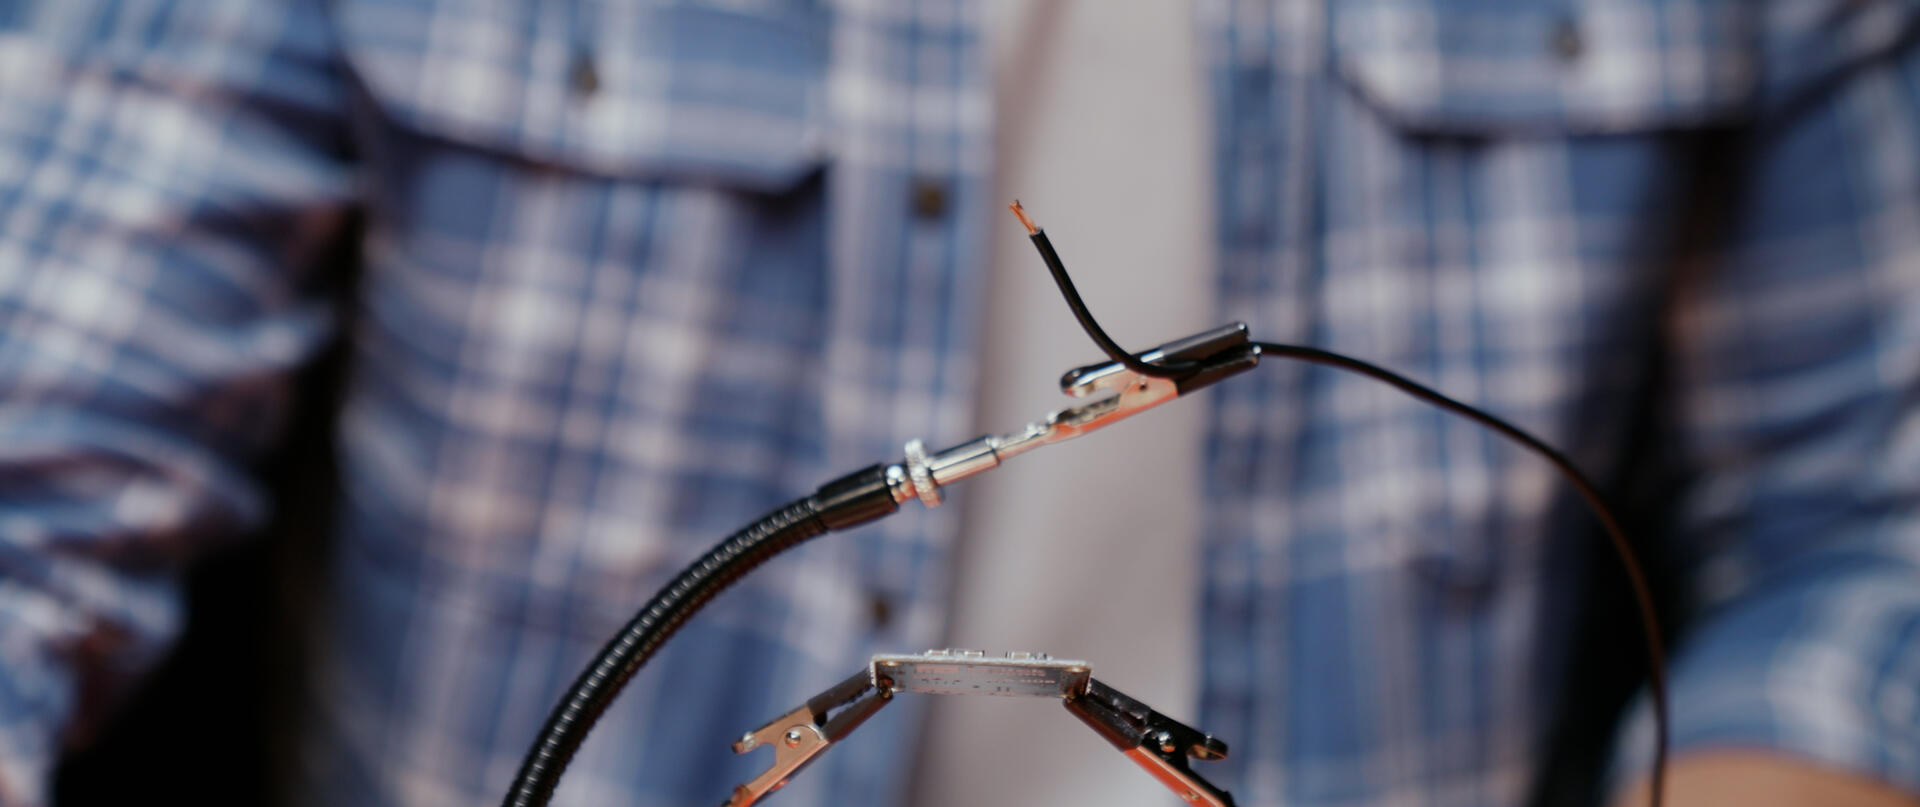
Step 3
Prepare PCB & wire. Strip wire of outer casting and place wire in helping hand. Place PCV in helping hand.
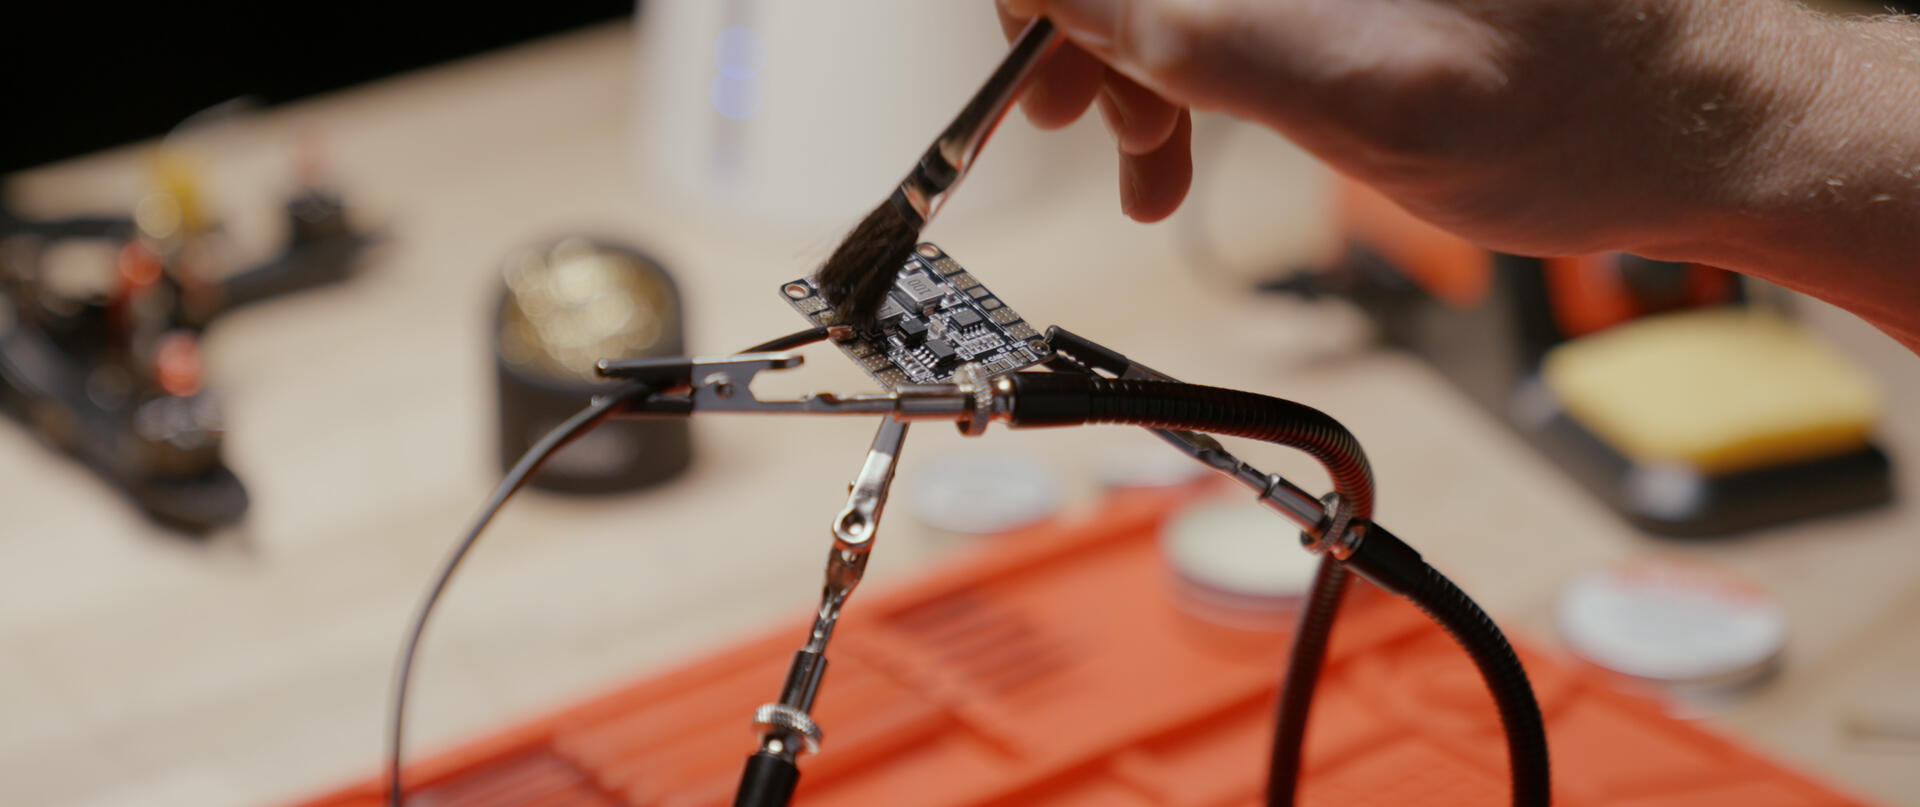
Step 4
Apply flux liberally on the wire. Clean the PCB board.
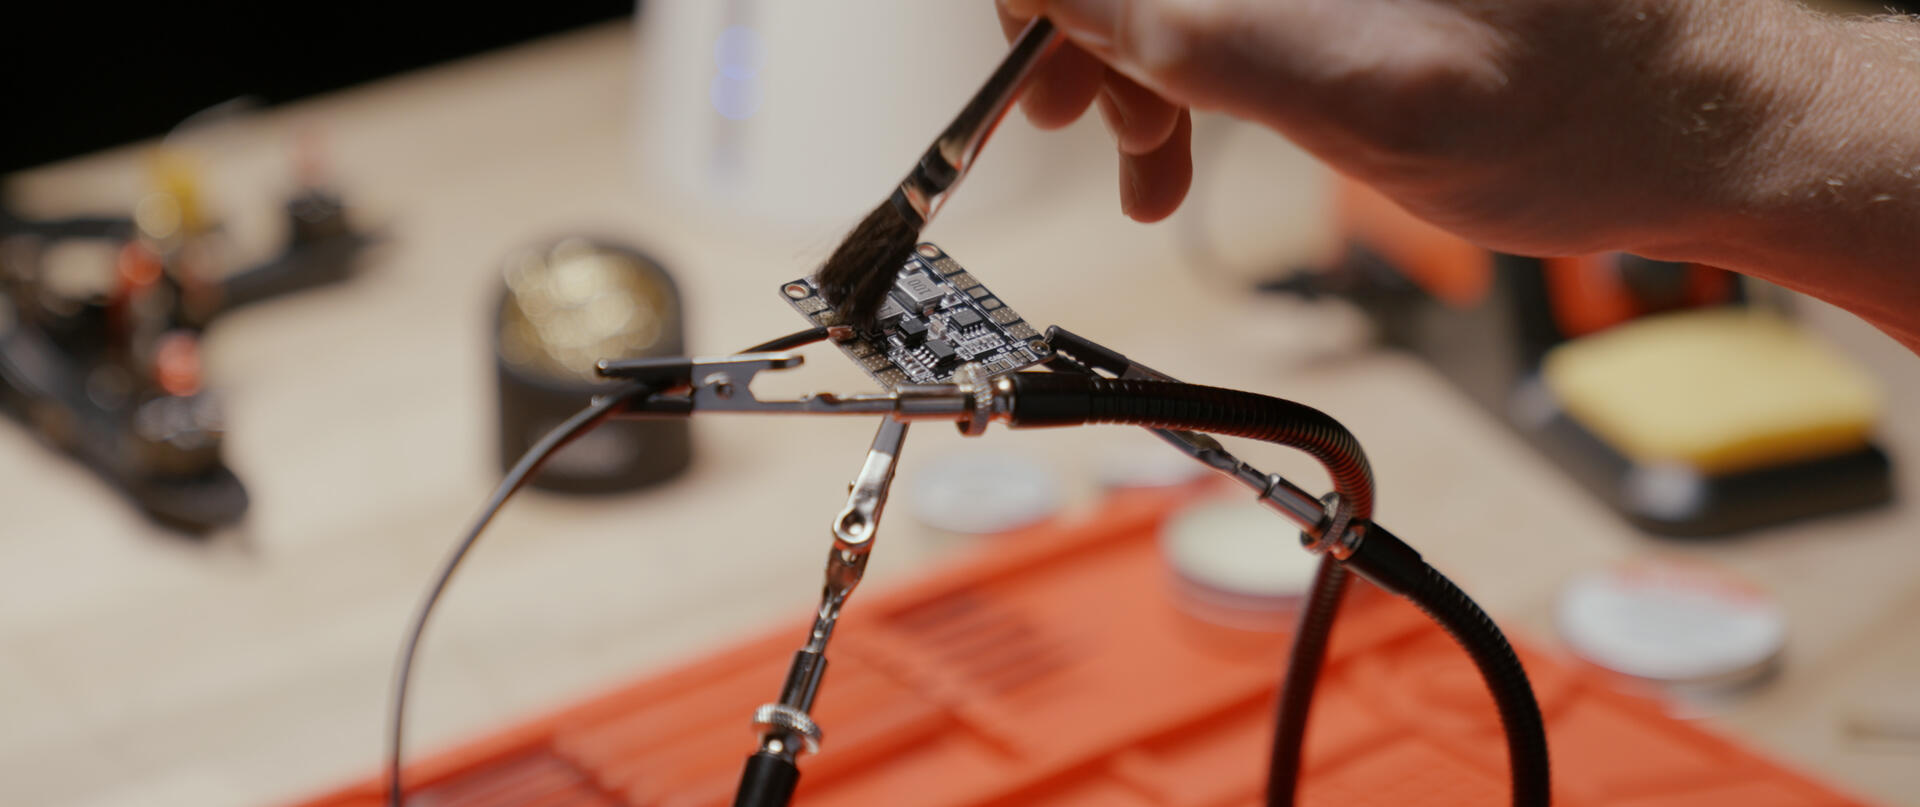
Step 5
Apply flux liberally on the PCB board
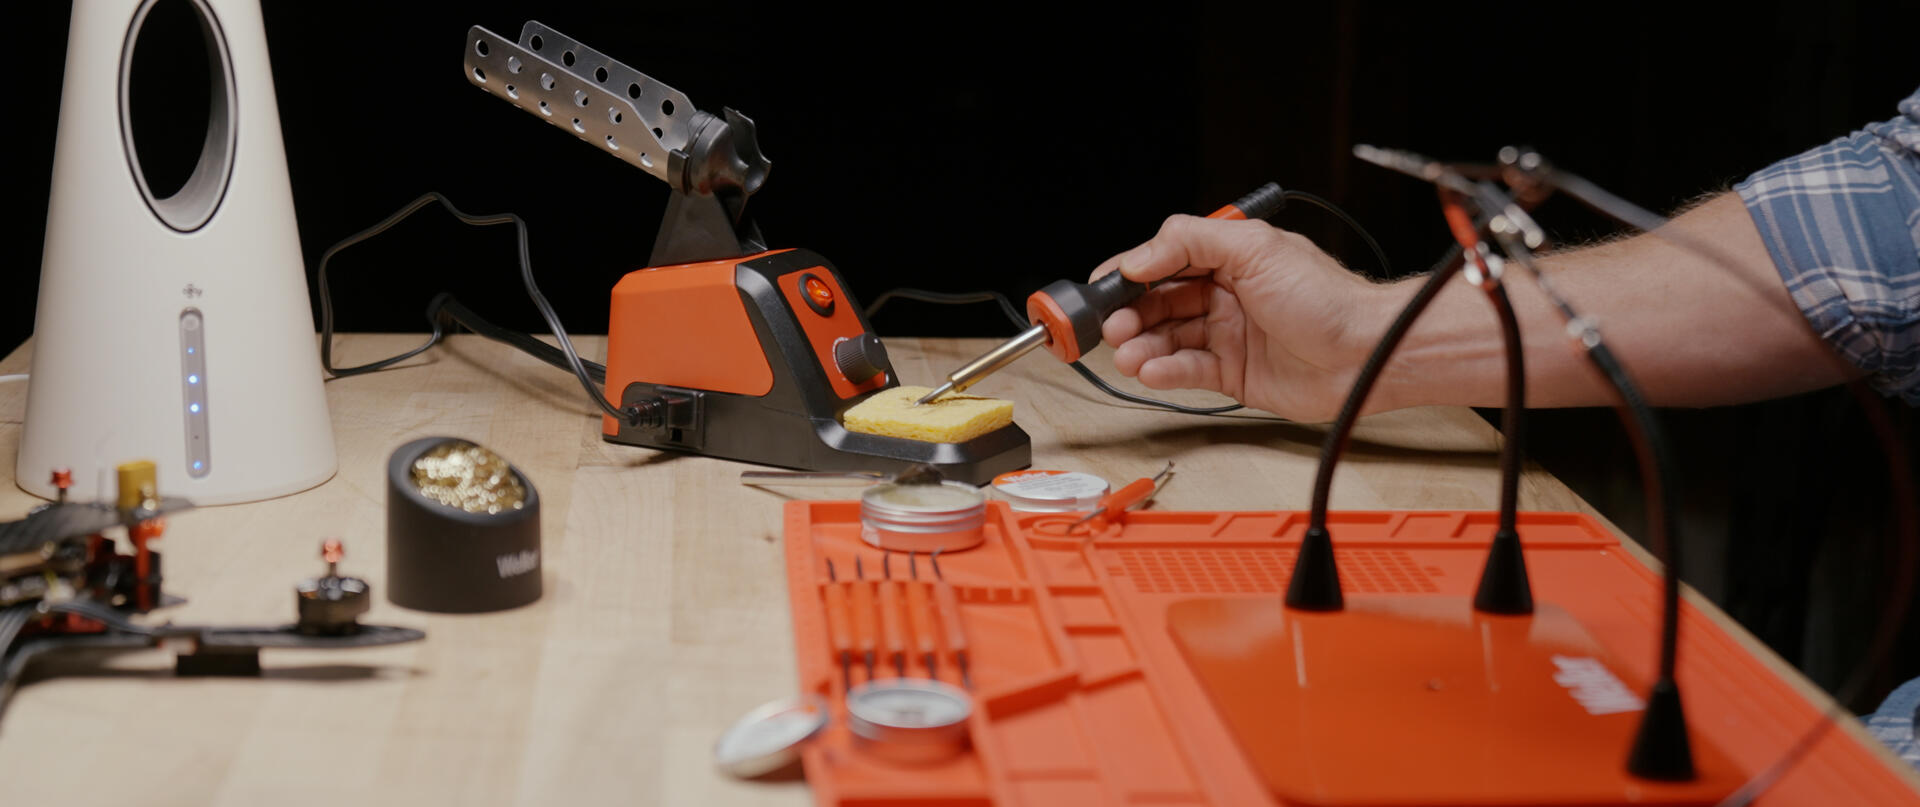
Step 6
Prepare your iron. Clean the soldering tip using the sponge.
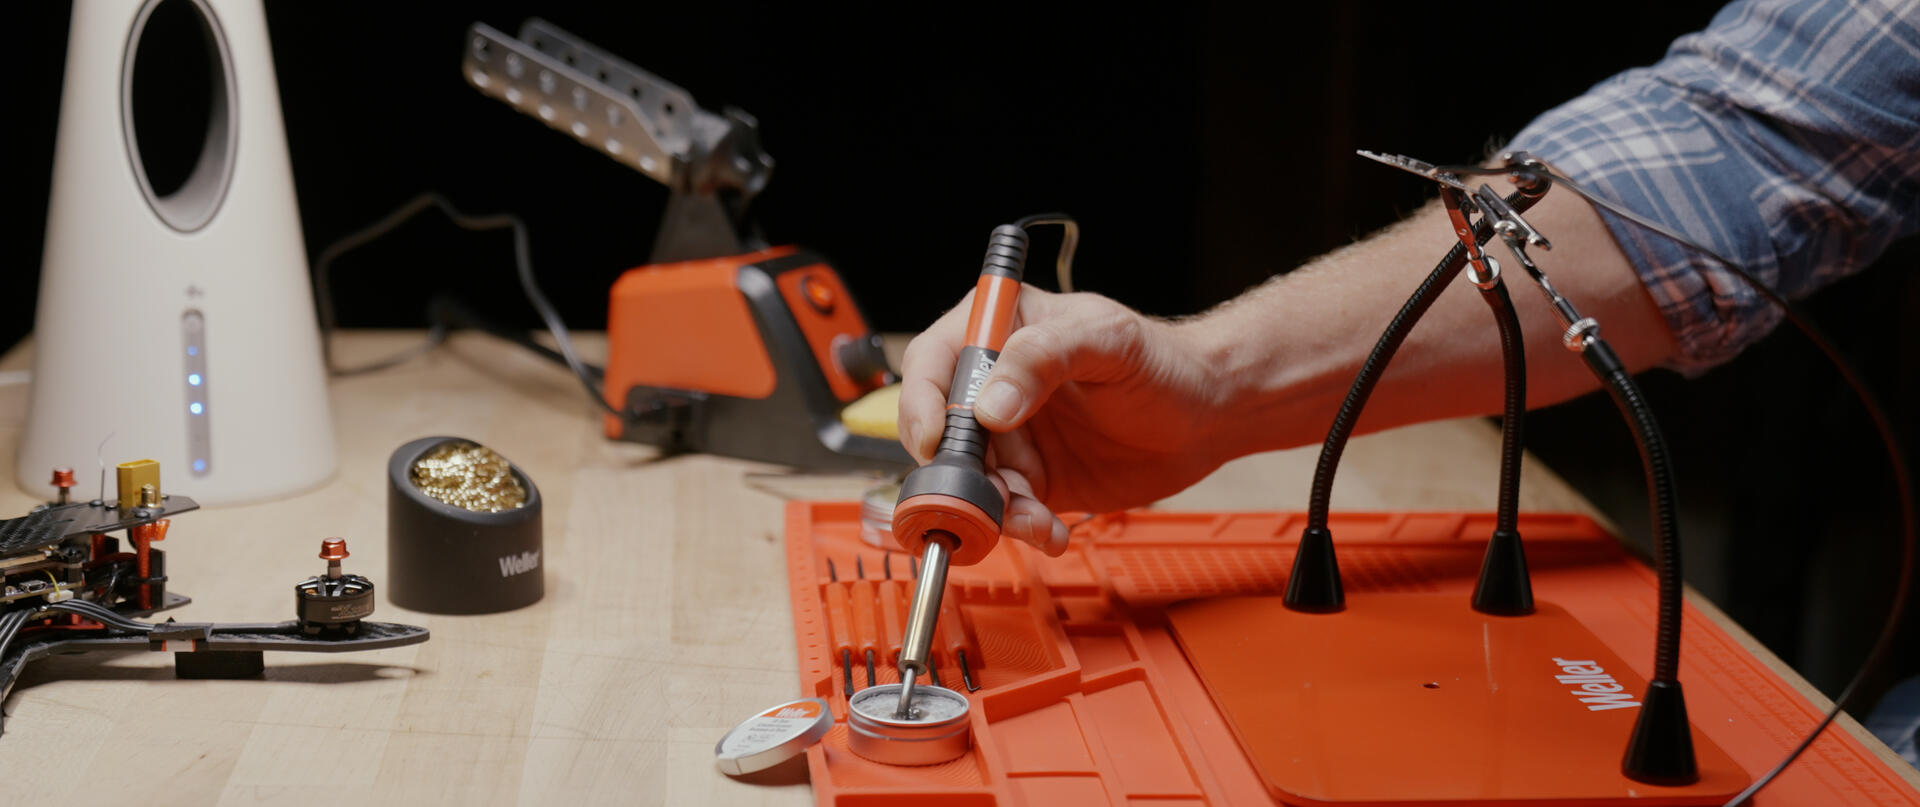
Step 7
Tin the tip
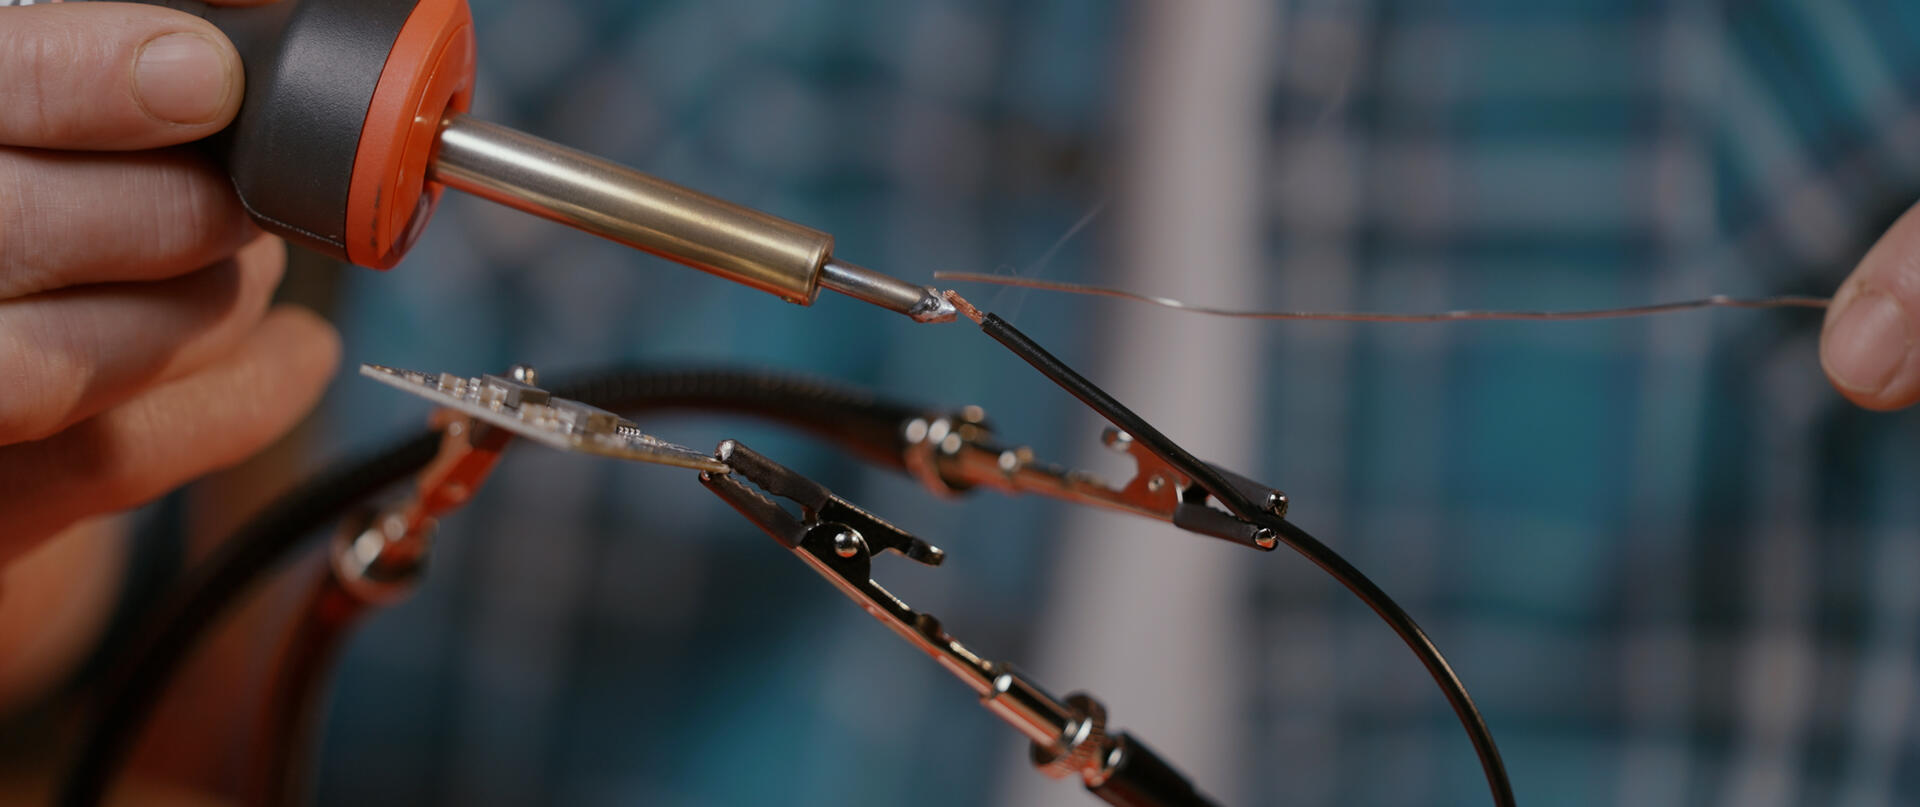
Step 8
Solder the wire. Apply the soldering iron to the wire to heat it up. Feed the solder until the area being joined is fully tinned.
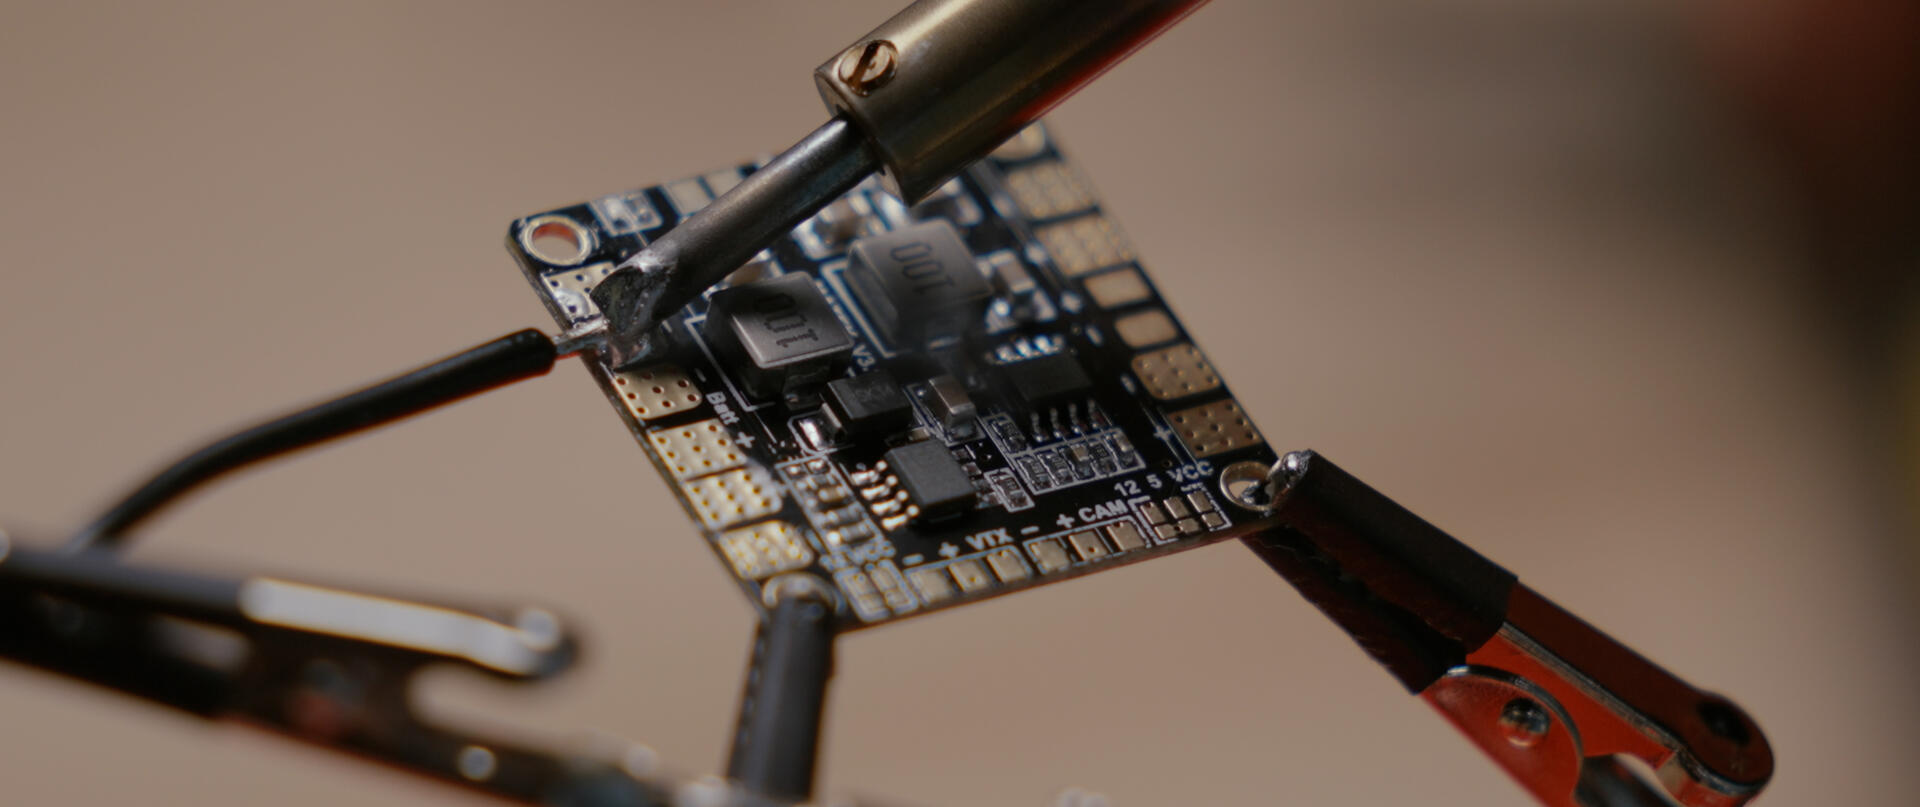
Step 9
Solder the PCV. Apply soldering iron to heat the contact pad. Feed solder until the area on the pad is lightly tinned.
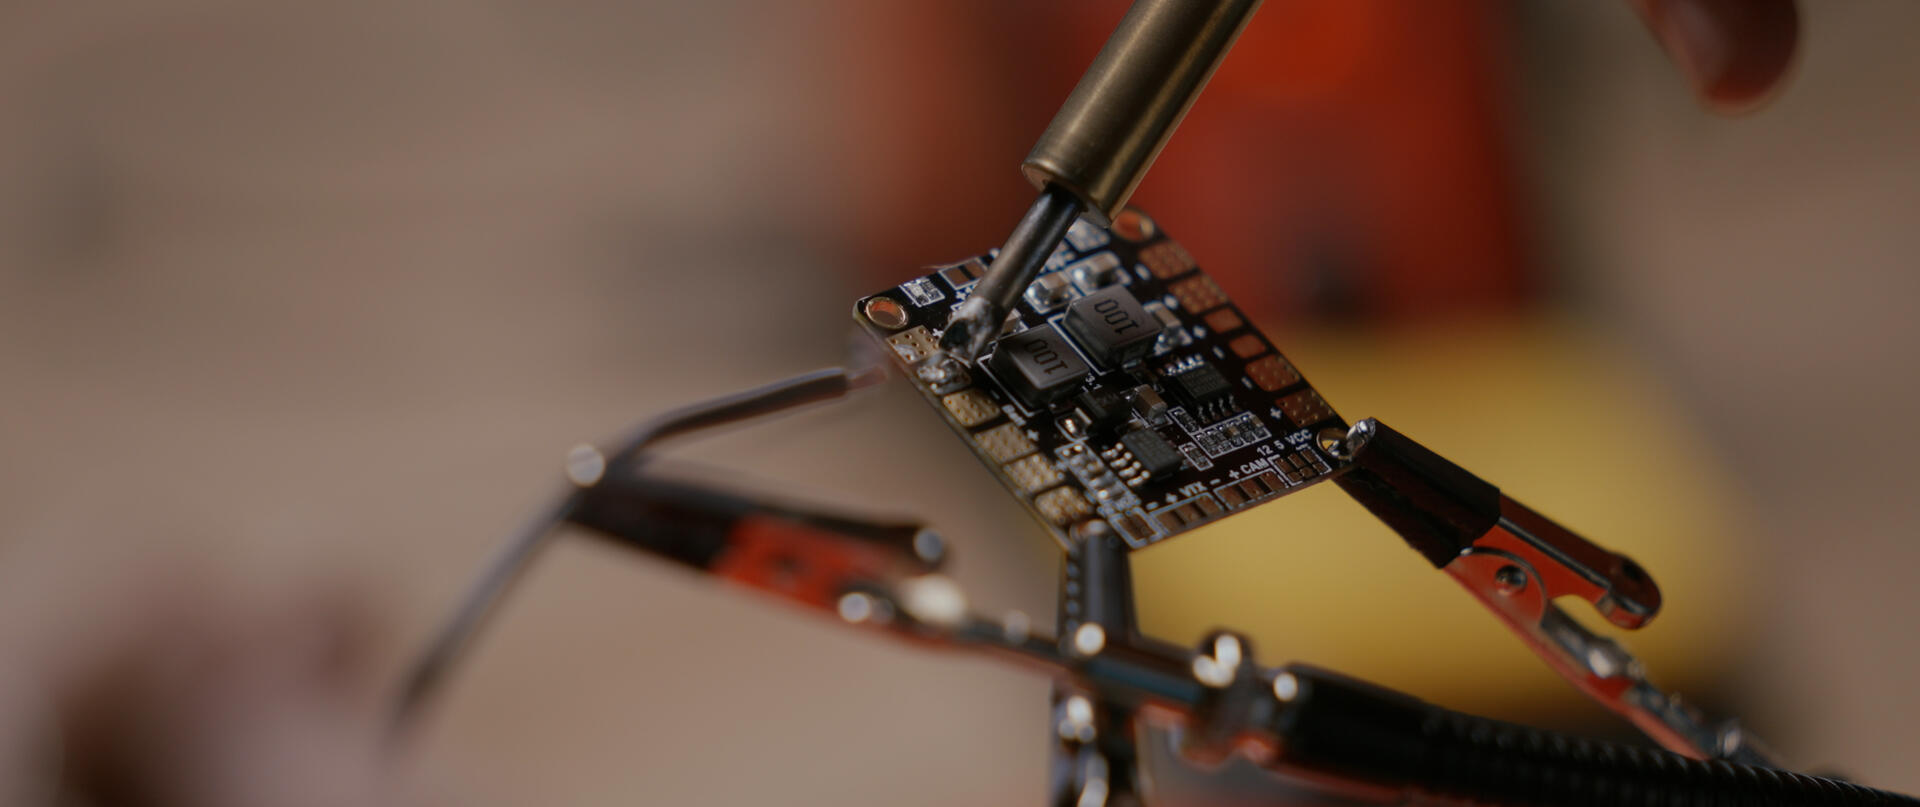
Step 10
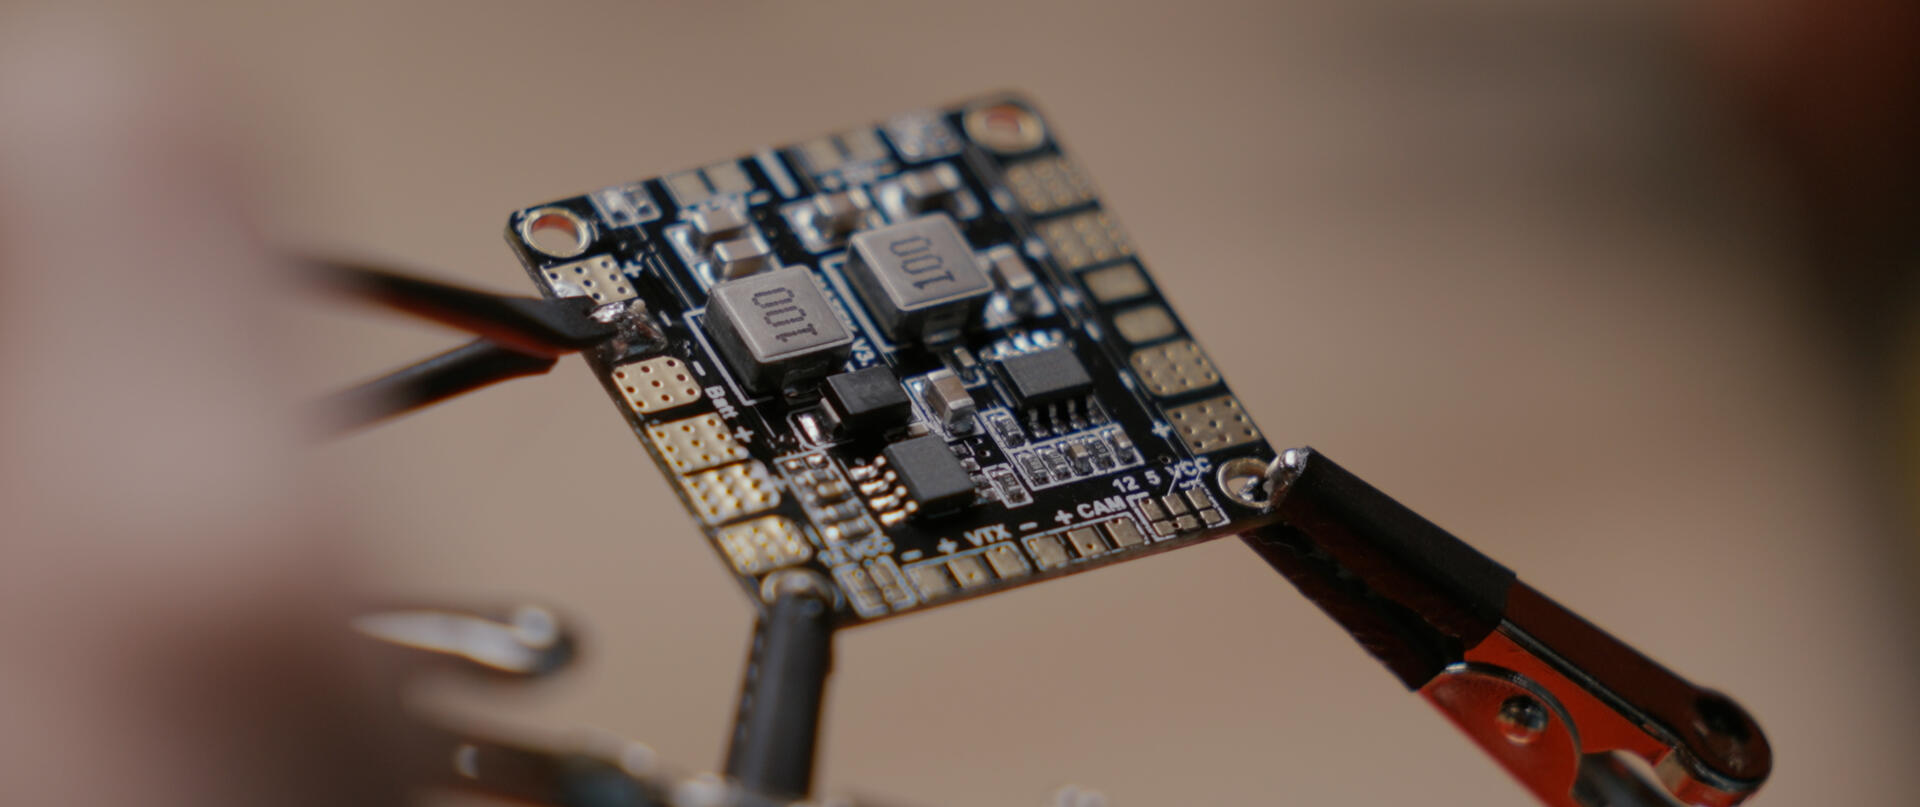
Solder wire to PCB. Place the pre-tinned wire on top of the solder pad. Apply soldering iron to the top with minimal pressure until both solder melts on wire pad.
Step 11
Pull the iron off and hold for a few seconds with the solder aid until sets.

Stained glass
Creative Cathy
Arts and Craft Hobbyist

Weller is has always help my creativity flourish
Look at my process
Step 1
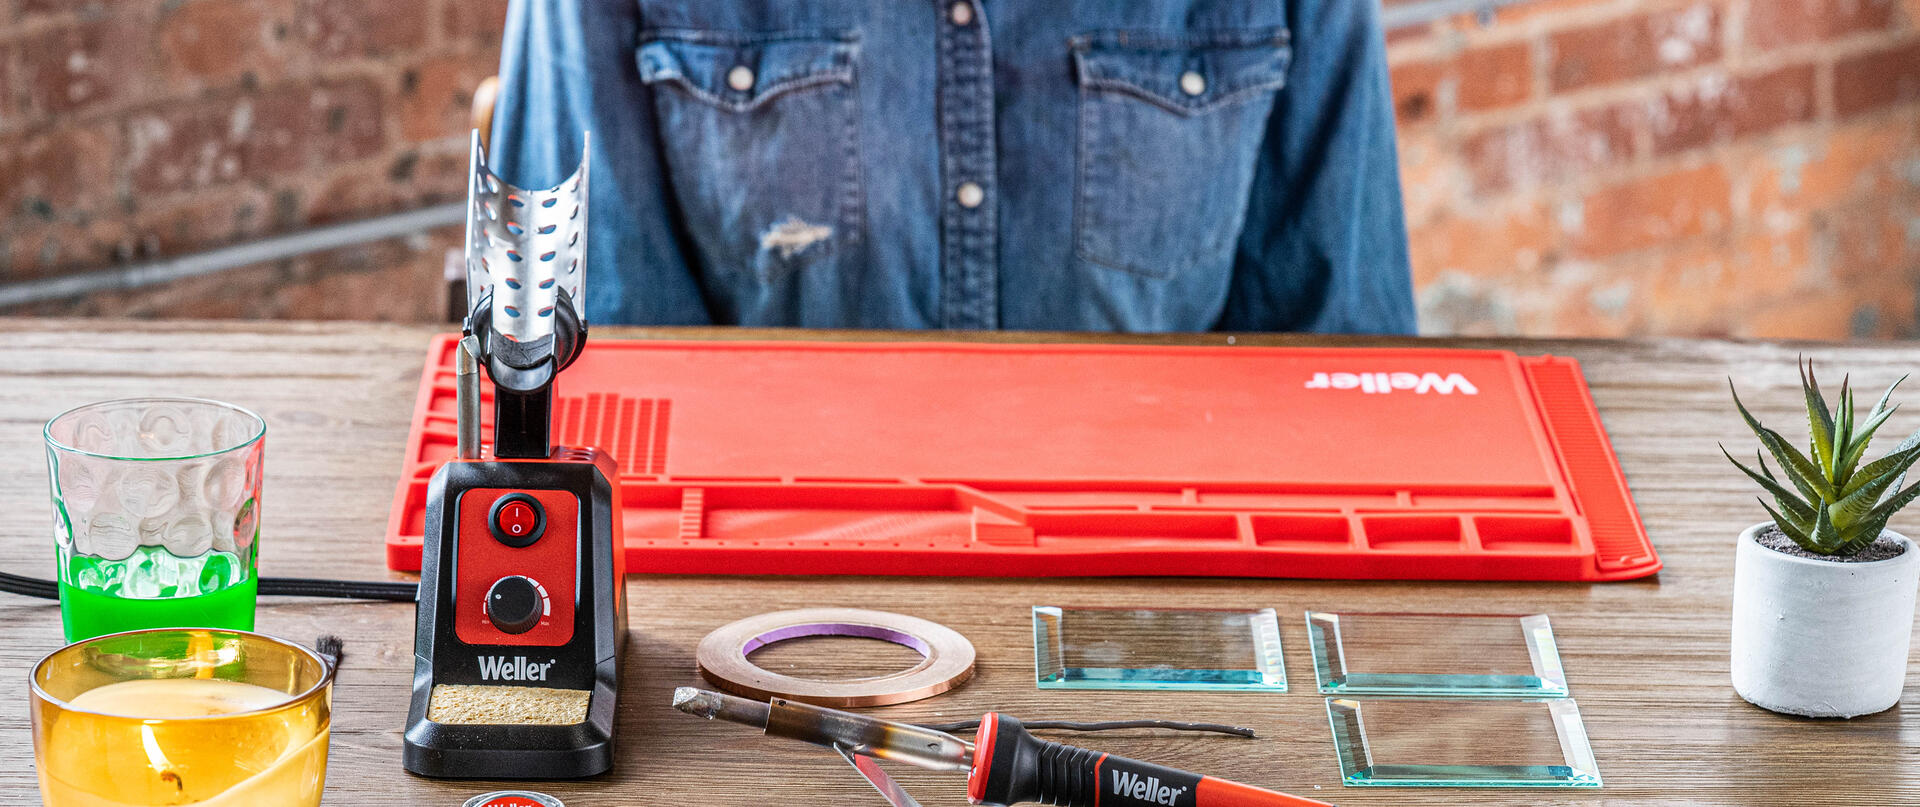
Before you begin soldering clean your work space and have all your tools ready.

Step 1
Before you begin soldering clean your work space and have all your tools ready.
Step 2
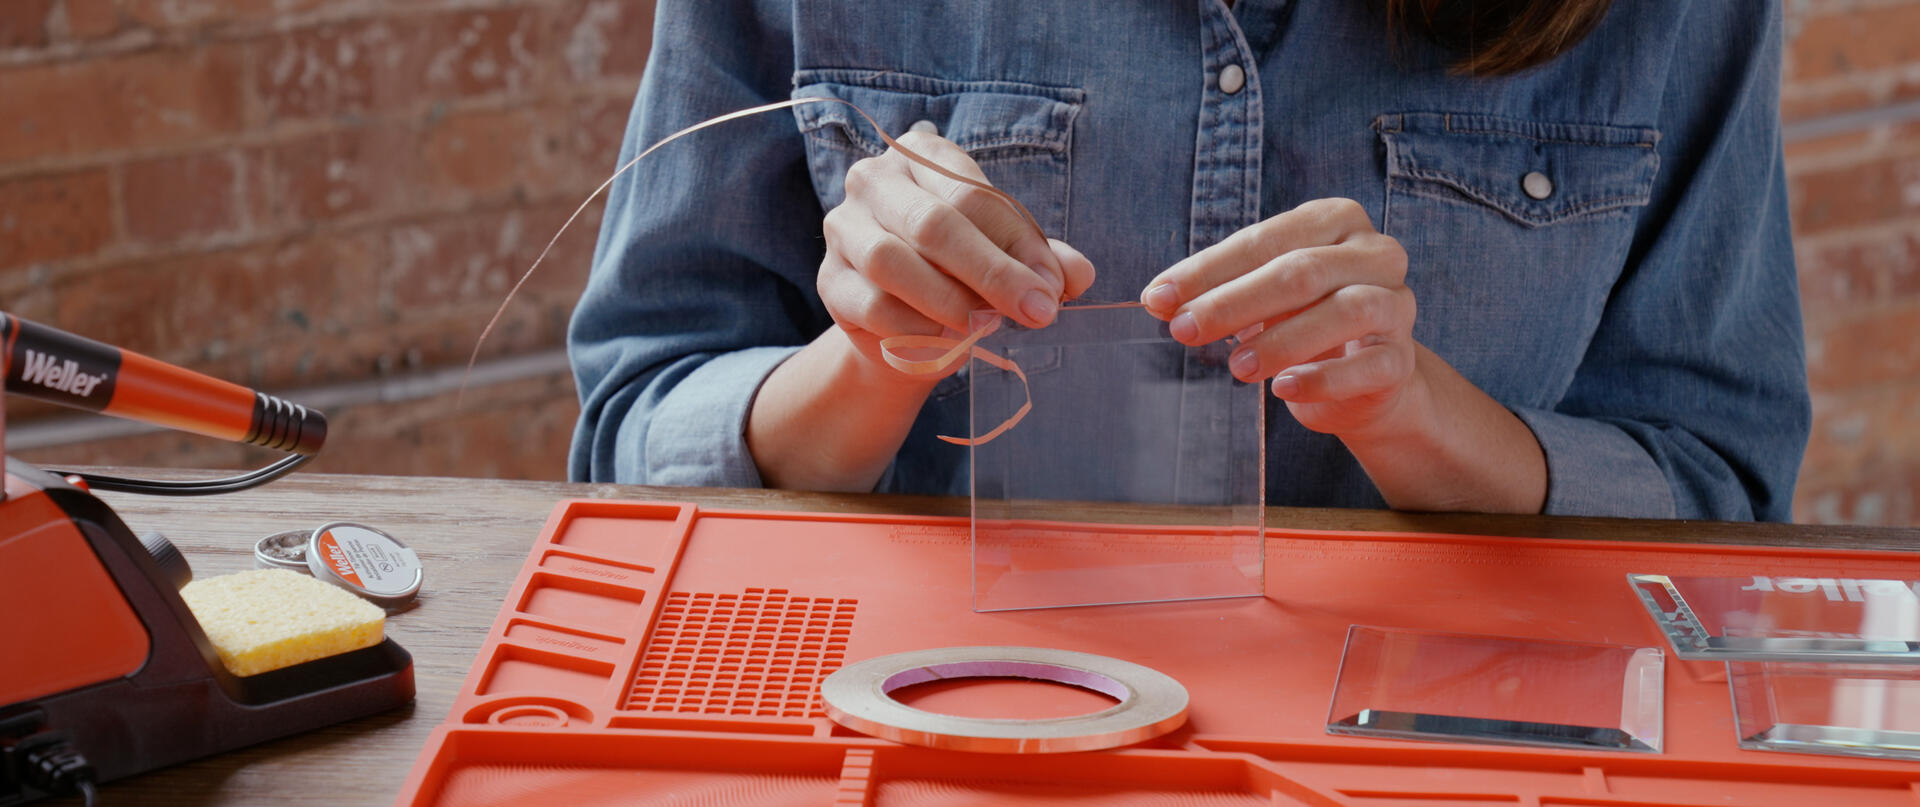
Prepare the stained glass. Grind edges until smooth. Place stained glass copper foil tape around the edges of each glass.
Step 3
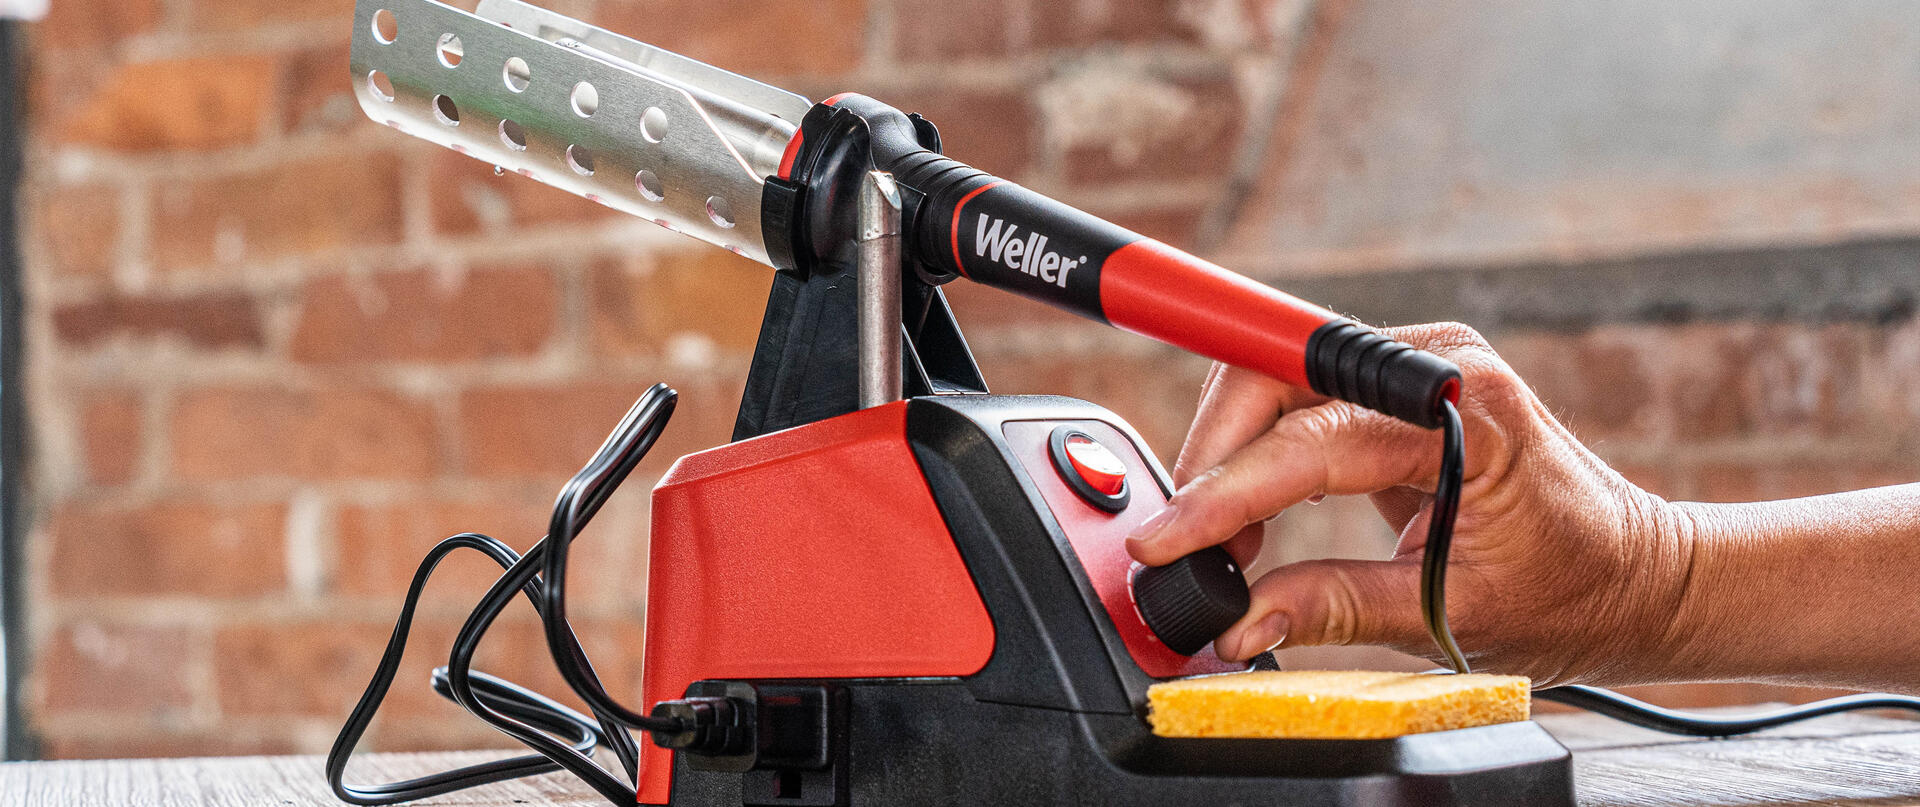
Prepare soldering station. Turn on soldering station. Adjust station's wattage to max. Add water to the sponge.
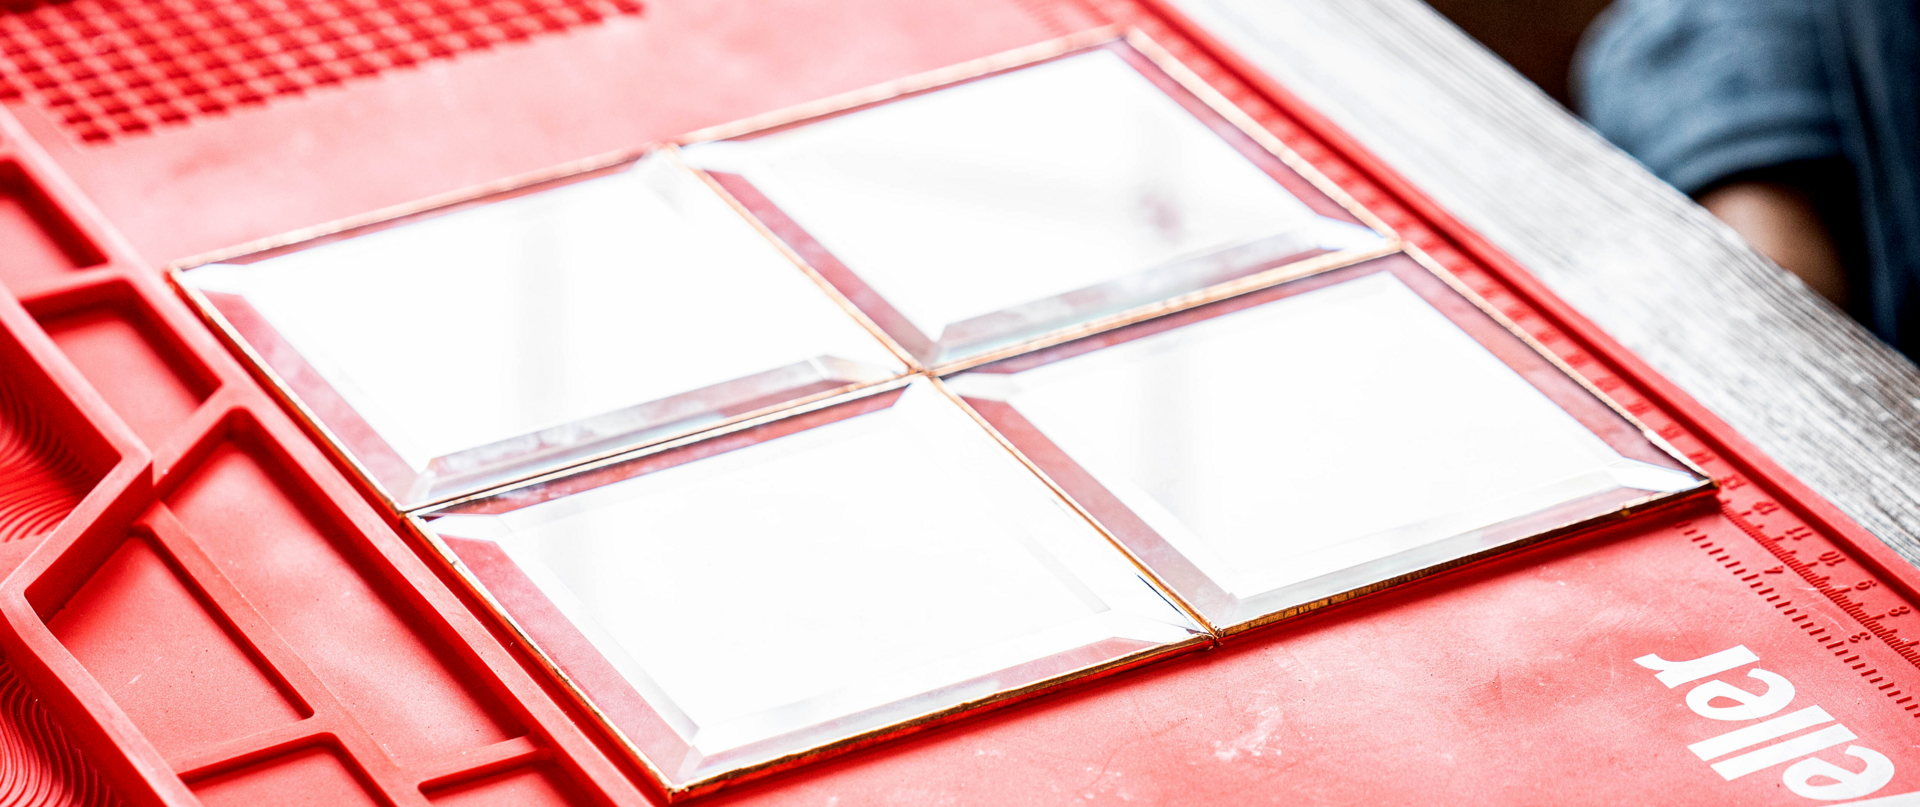
Step 4
Arrange your pattern. Place stained glass pieces in position.
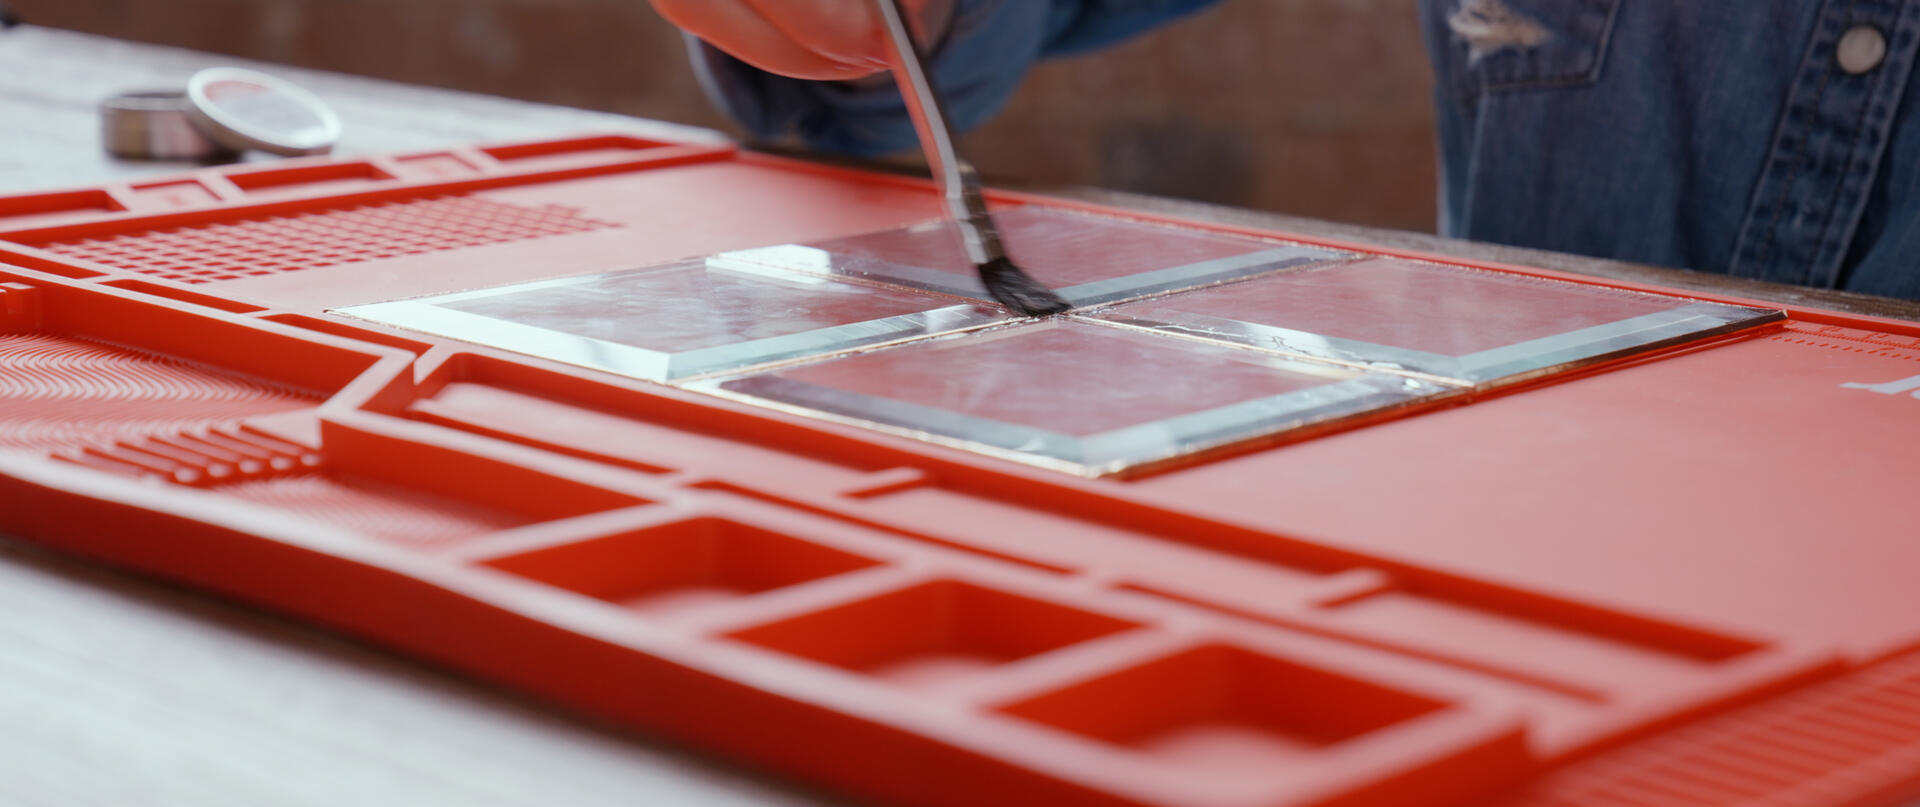
Step 5
Liberally brush flux on foiled areas that will be soldered.
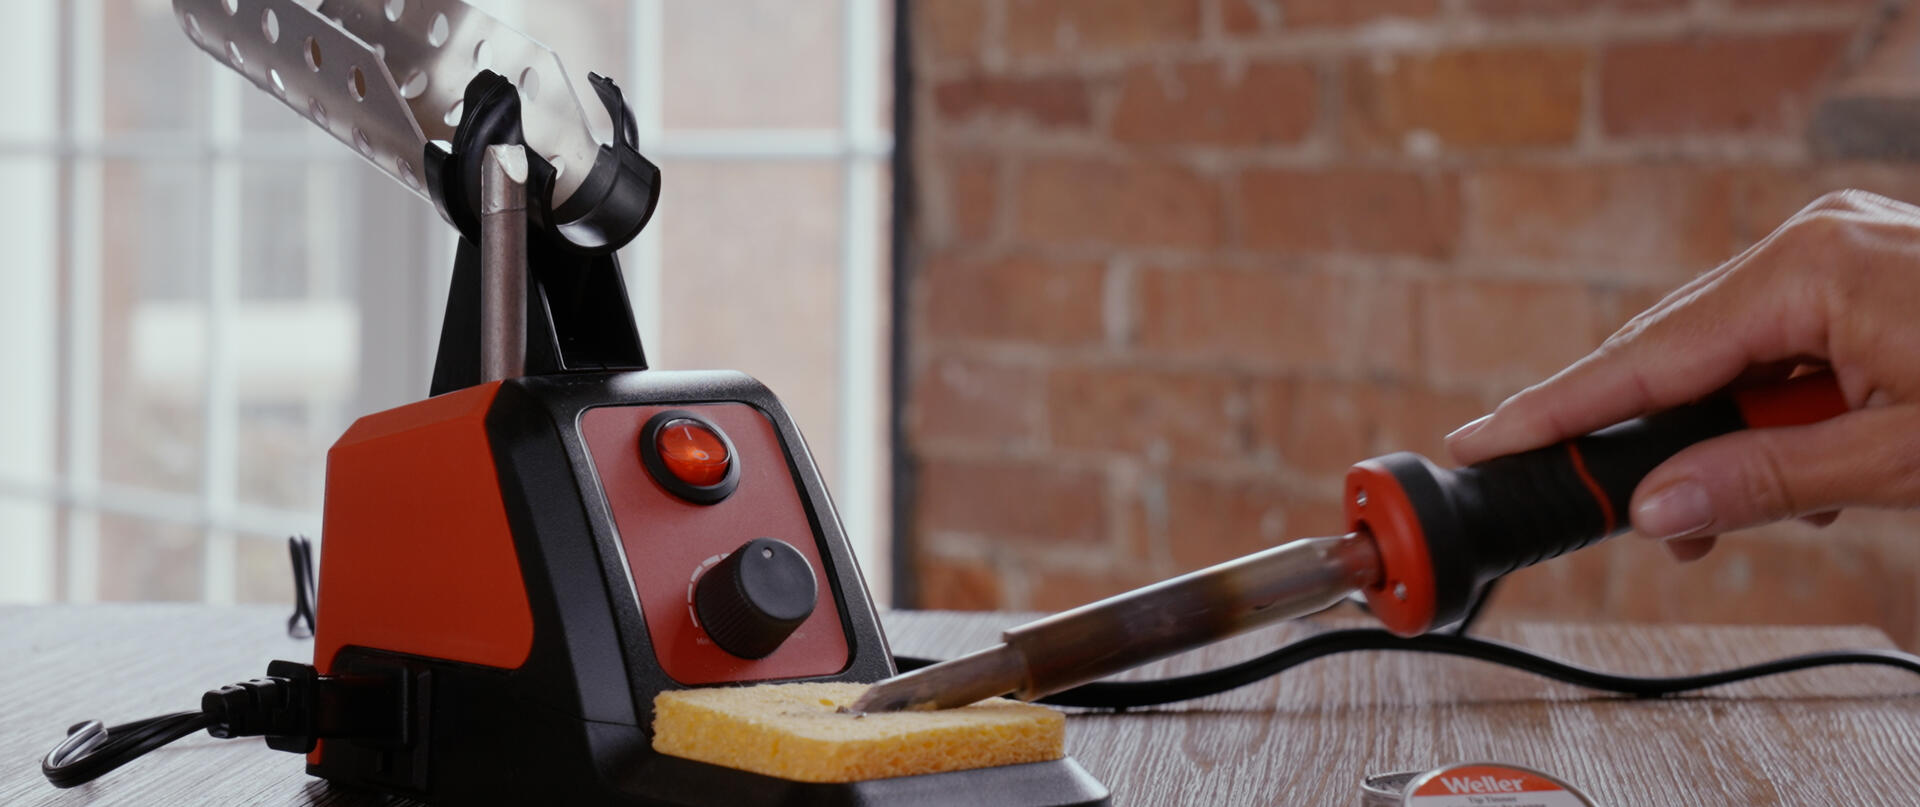
Step 6
Prepare your soldering iron. Turn down wattage between three and four.
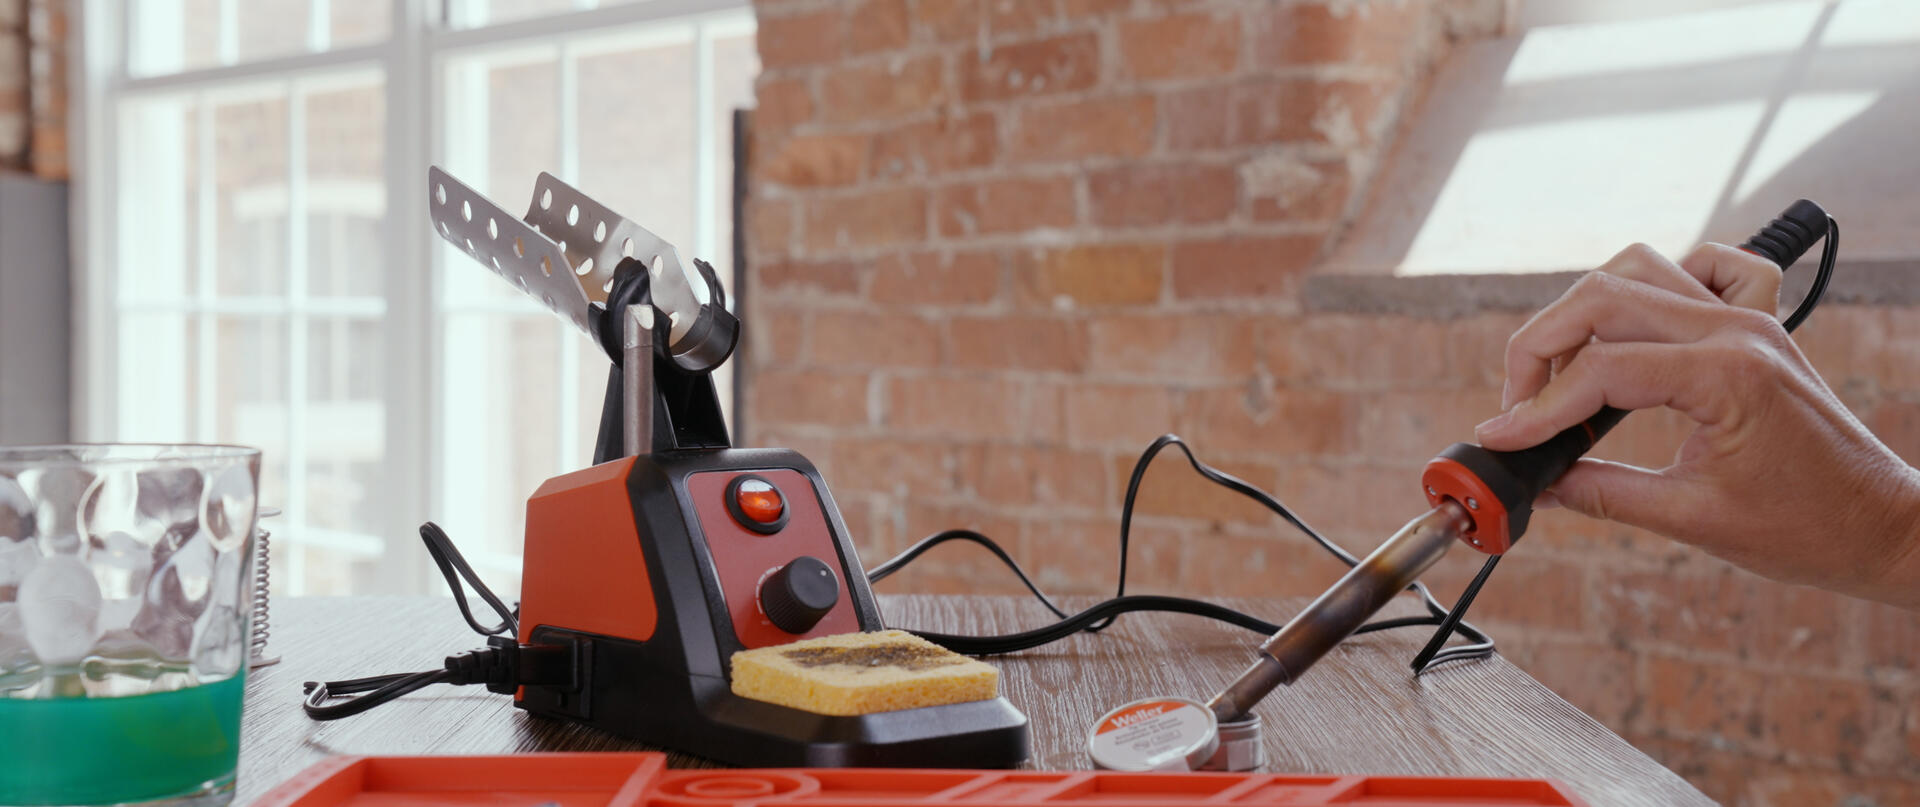
Step 7
Clean solder tip in sponge and tin the tip after
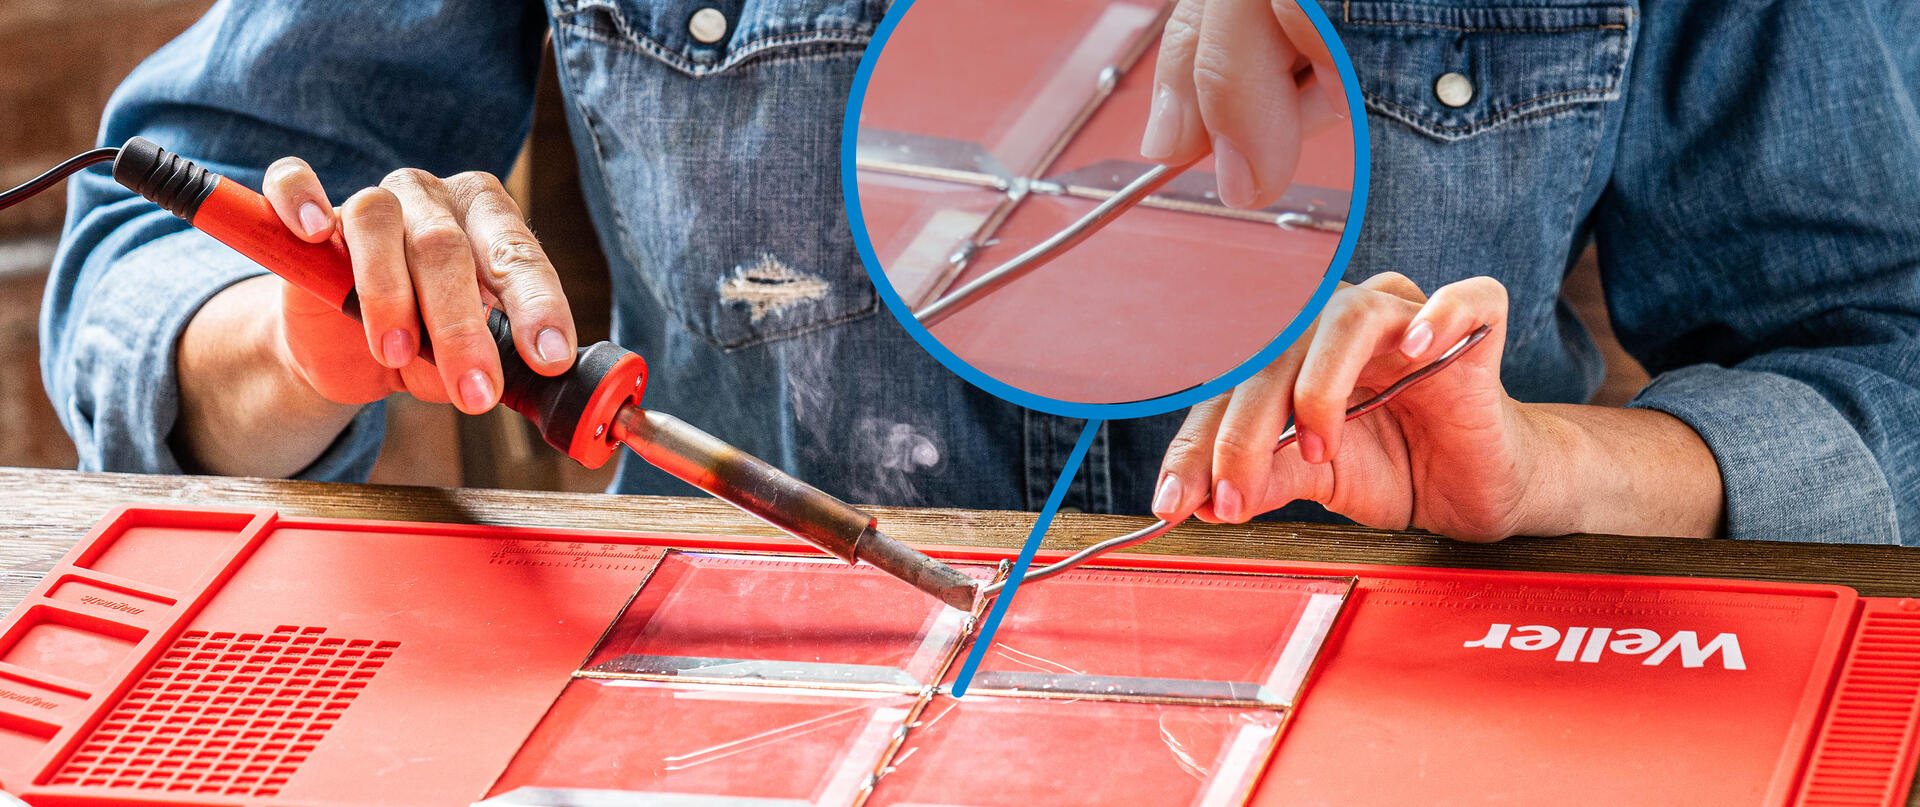
Step 8
Solder your stained glass project. Tack stained glass pieces together.
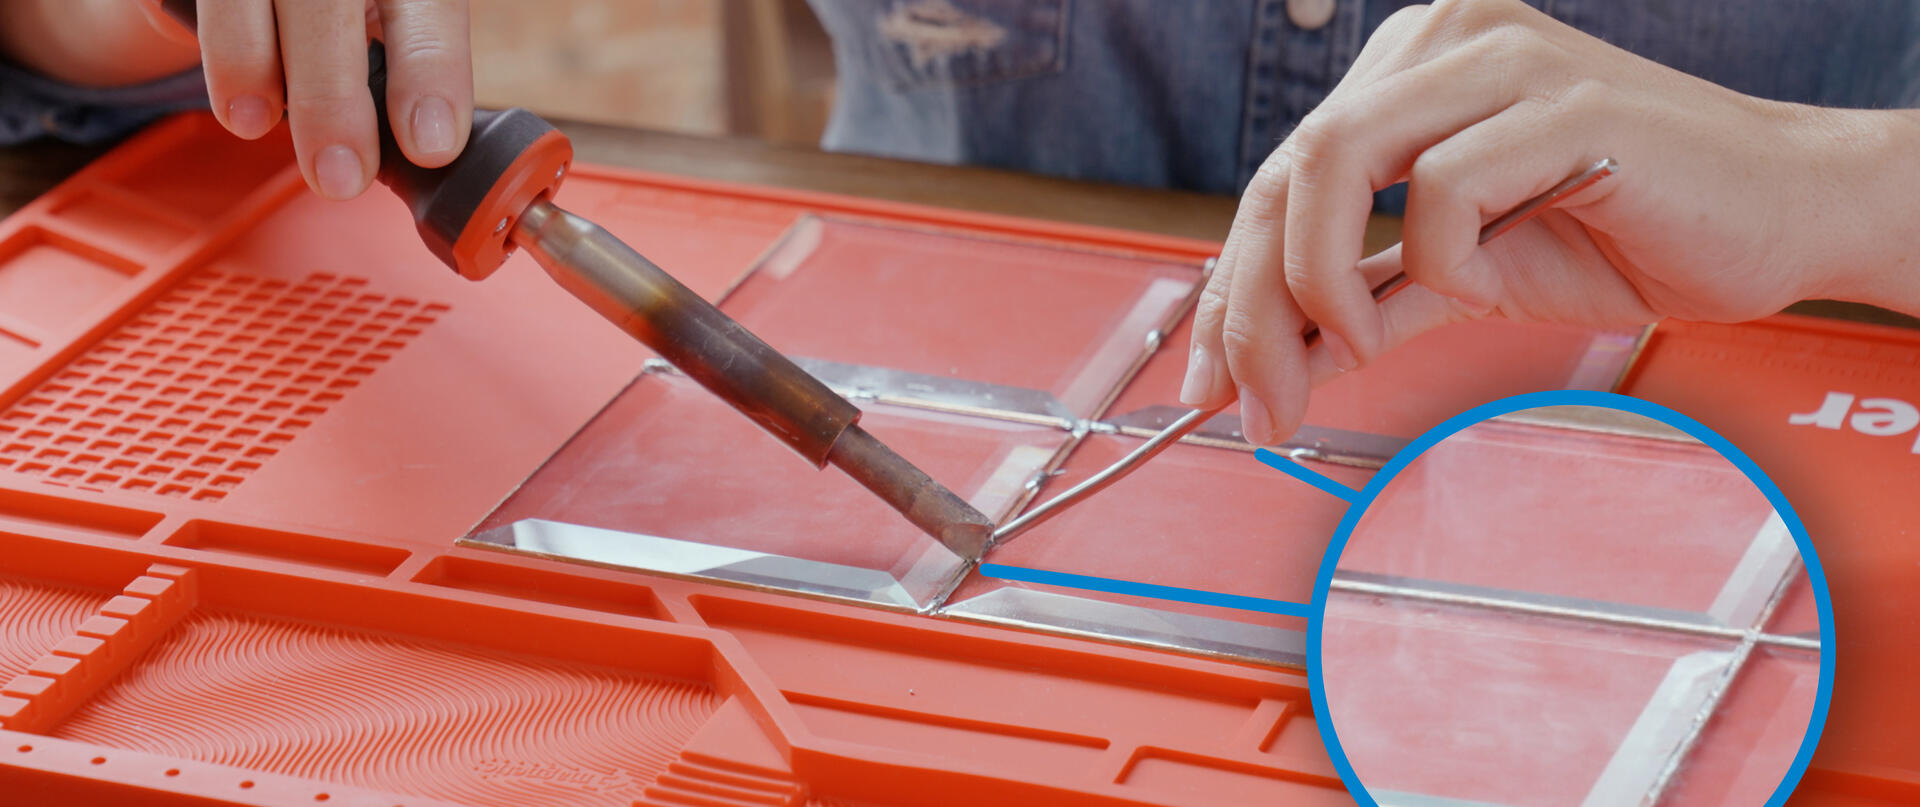
Step 9
Apply thin line of solder to all the seams coating all the copper foil
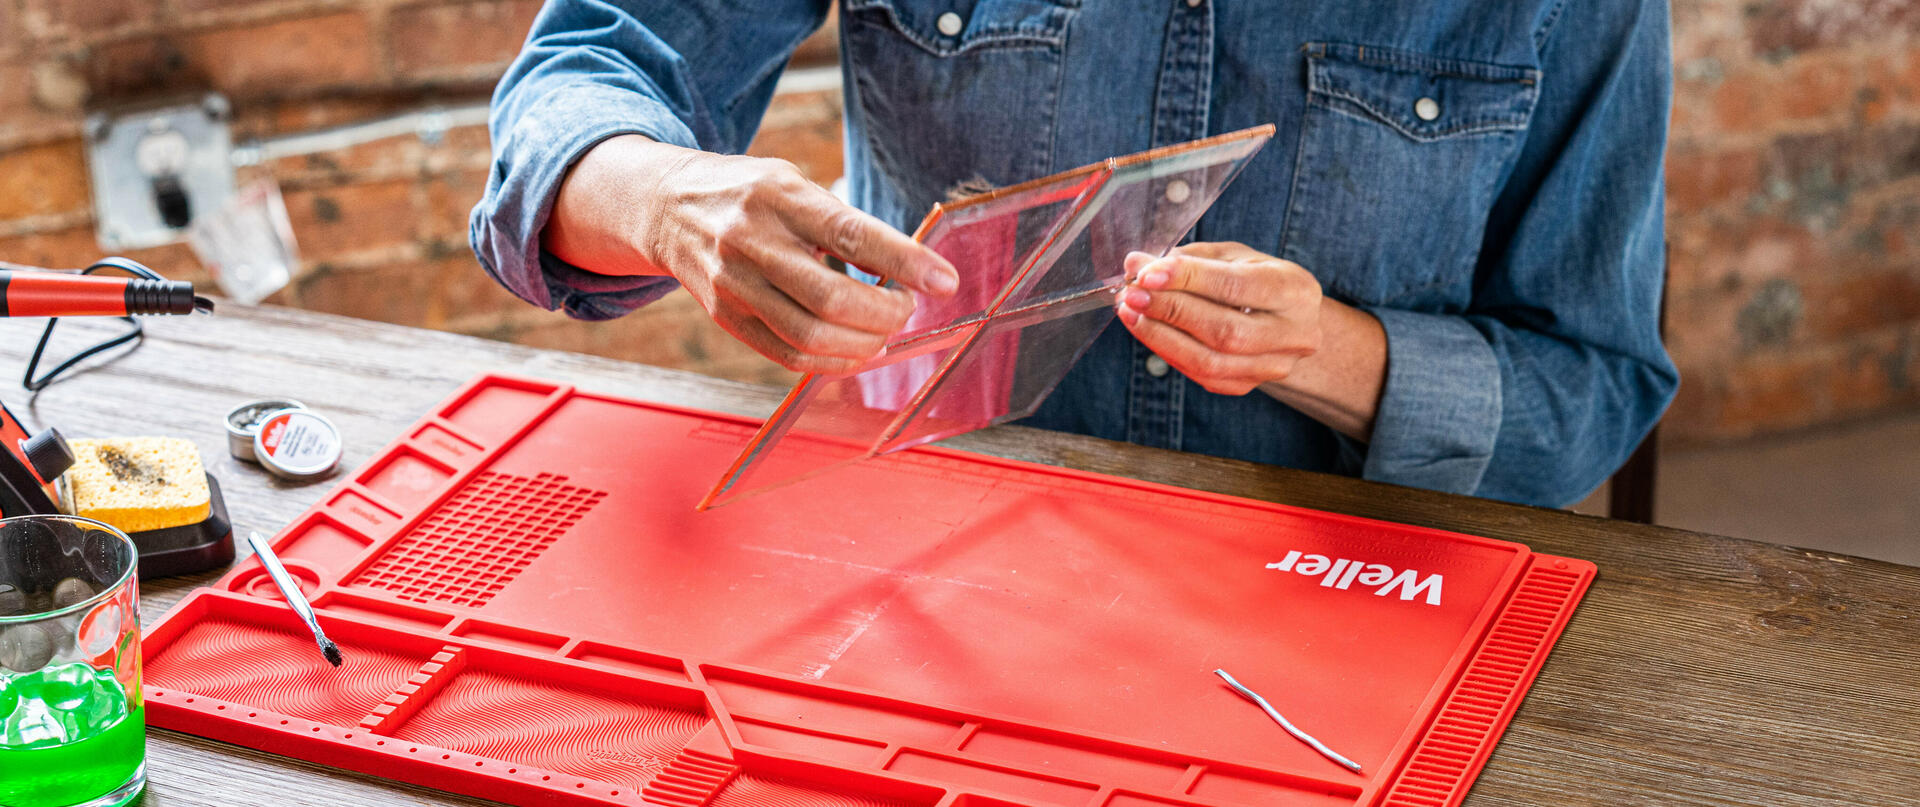
Step 10
Flip, flux and repeat step 6

Step 11
Enjoy your stained glass

Guitar project
